

Hello!
Today I will write about making your own liquid culture for mushroom growing.
The liquid culture is a liquid mix of nutrients that will help the mycelium to grow healthy prior to inoculation. It’s very effective cause with a very little amount of liquid culture you can inoculate directly a big amount of soil or spawn.
Let’s start making the liquid culture!
Liquid Culture
I used as a base something that you can also buy in the dedicated shop ready to dilute in water called PDA (Potato Dextrose Agar). Of course I didn’t buy it, but I did my own version 😉 maybe less effective but still valid.
I boiled 4 potatoes in a liter of water for a while, then eat the potatoes and kept the water. The water is now rich in starch and other nutrients, something that mycelium is hungry of. Remember to filter the water with a piece of cloth, to ensure no remaining of potato goes into the jar: I don’t know if mycelium likes potato 🙂
Then I added around 4% of biologic honey (don’t add more than 4% as too much sugar will kill the mycelium), a small amount of dried potato starch (0,5 %, I think it was one tea spoon).
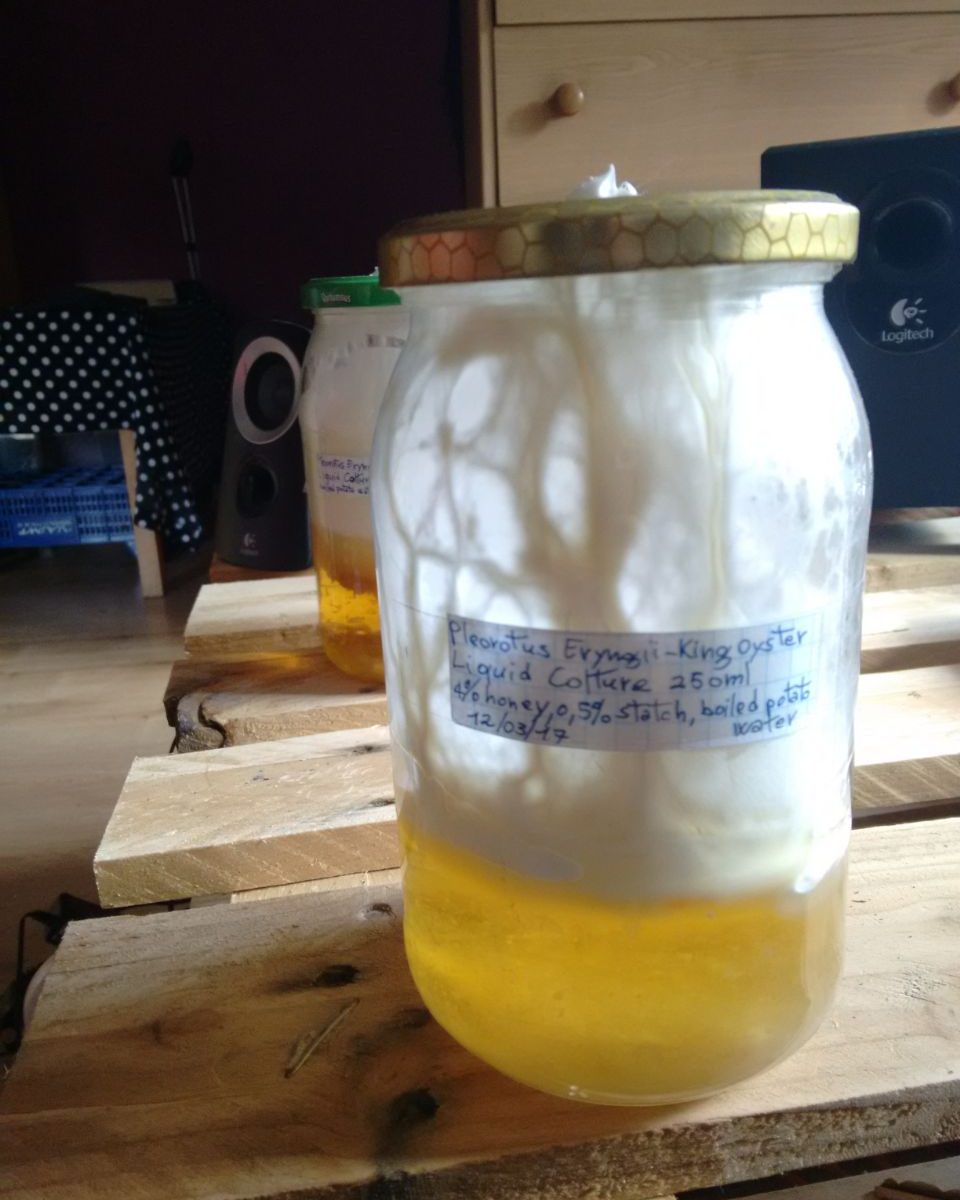
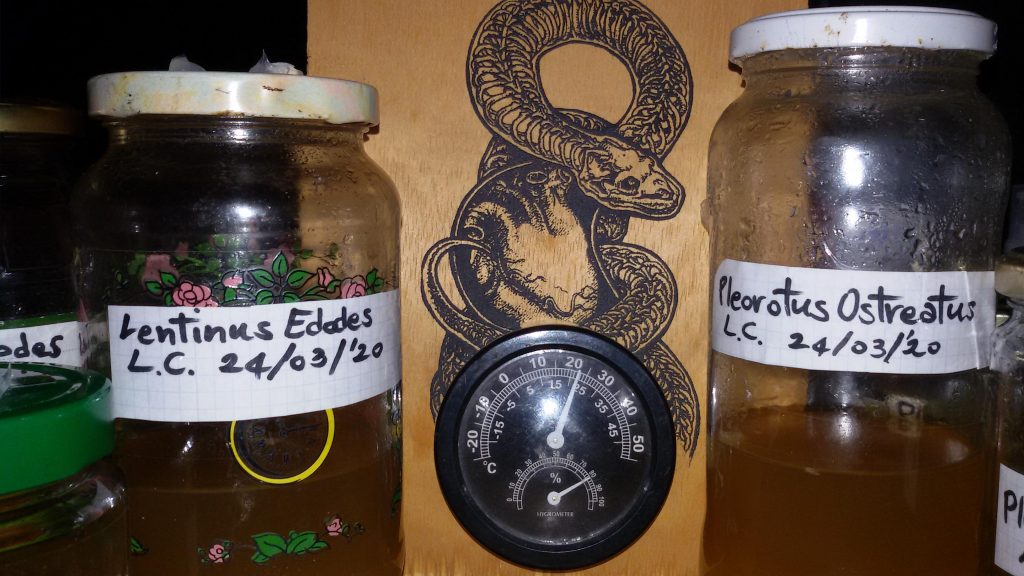
I managed to make around 1 liter of liquid culture, so I closed it in 4 jars, having 250ml of LC on each. Note the size of the jars, the mycelium needs lot of air in this form to properly develop, but you can fill the jars more (i.e. half of the jar).
Jars
It’s not very visible from the photos, but the jars have 2 holes.
One is the air-filter: put a hole on the lid with a screw-driver and a hammer, then fit a cigarette filter through it, then white silicon (if you have transparent is also fine) all around bottom and top to seal. Place this one on the center of the lid.
The other one is the so called self-healing port. This is just a hole with silicon, that is used to take the liquid culture once is ready with a syringe. The silicon is so gummy that will close itself (self-healing) after the syringe goes out. Place this one on the side of the lid, to facilitate the entrance of the syringe that will have to reach the liquid by turning the jar.
Inoculation
This passage is basically always the same:
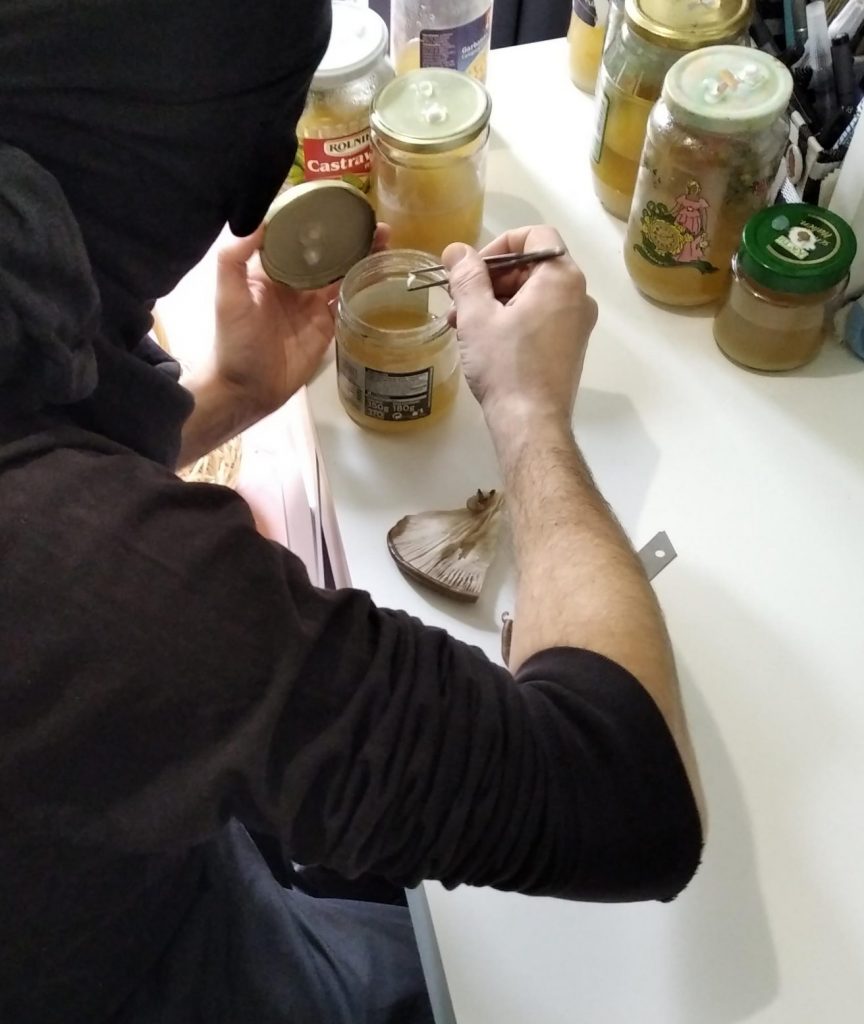
Clean all the surfaces and tools (plate, cutter) with alcohol. Wash your hands and put alcohol on them. Put some cover, like a t-shirt, on your mouth and hair to stop breath and bacteria going into the jar.
Then take a fresh mushroom, flame sterilize the cutter if you want, then cut out the outer skin of the stem, and take a small – this time REALLY small – piece from the internal part of the stem. I did this with Pleorotus Eryngii (King Oyster Mushroom).
Put the small piece inside the jar and close it fast.
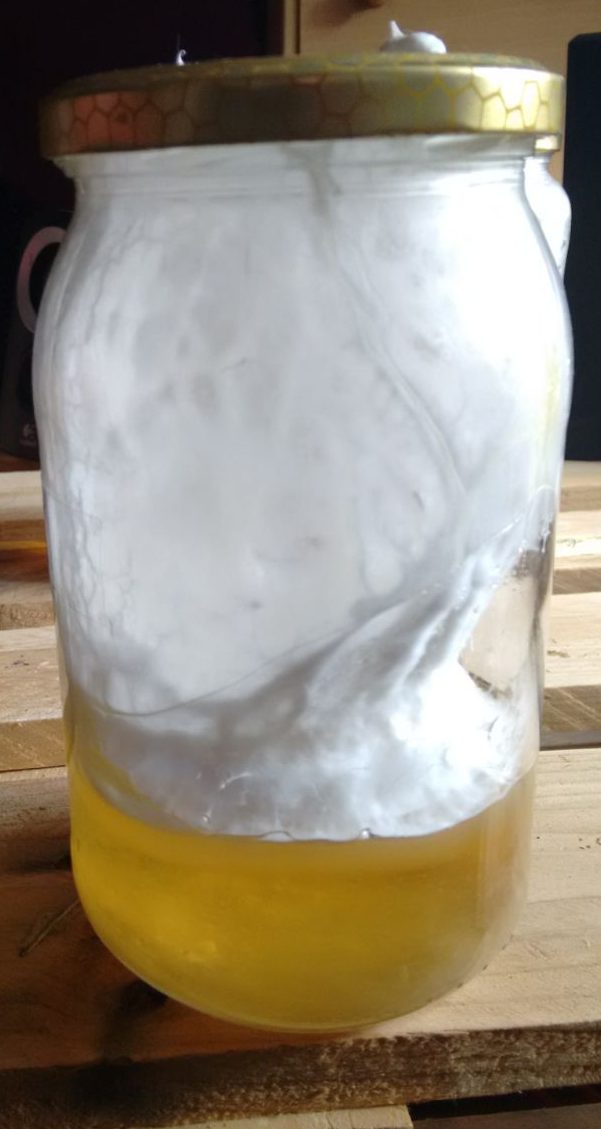
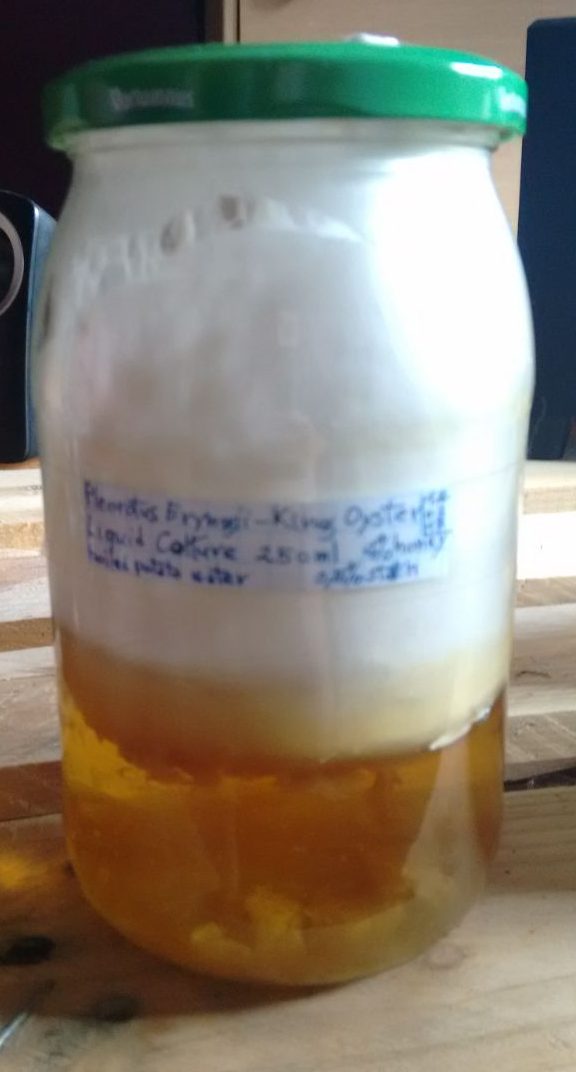
That’s it ! Place the jars in a warm (20-25C) and dark place. After 2 weeks to 1 month you should see some changes in the structure of the liquid, and at the end of the process, that is, when the LC is fully colonized, the mycelium will probably start to grow out of it, as you can see from the images.
I guess the best moment to use the LC is before the mycelium start to grow in the white fluffy form inside the jar.
To know how to use the Liquid Culture, stay tuned on ROT !

This is great! This is almost identical to what I’ve tried recently for first time and seems to have worked really well.
The difference is that mine is about 2 weeks now and on top of the water, there’s white (really white) flat, floating residue or something.. is that bad, or even normal?
The mycelium in the water grew a lot, but is there a way to know of that too is contaminated or good?
Hi!
The white fluffy thing on top is completely normal – still mycelium growing.
To check contaminated mycelium inside the water, I guess you look at the mycelium out of the water – it’s still the same organism.
Test it out by knocking up a grain jar with your LC. That’s really the only way to tell if LC is contaminated. [Of course if it’s cloudy, I wouldn’t even bother testing it]
Otherwise, put a few drops on an agar dish.
It’s smart to always make 2-3 LC jars per sample, in case 1 eventually/immediately gets contaminated. Rather than the DIY silicone sealant injection port, you can buy 100 x 20mm ports for about $6-7 on amzn (200 is $10). At 5-7 cents each, there’s no reason to make your own.
I agree! 🙂 It’s the only way actually…
And, of course you can buy cheap self-healing ports for your jars…but one of the purpose of this website is to go 100% DIY (and cheapest possible). So, I had to write that tip about silicon 😉
Also, you should be shaking the jars a lot more. There’s no reason to have growth outside of the liquid (includes the surface). As I have a SFD installed, and can’t get it wet, I make a cyclone inside the jar to facilitate mixing, without splashing the lid. You’re basically just moving your hand in a very fast, but minimal movement circles. This will get the cyclone inside the jar. You should be doing this anyway, to properly distribute the sugars evenly. As they’ll eat up all the sugar surrounding them, till there’s a very low sugar/nutrient concentration. Mixing it, it’ll make the concentrationa around the jar essentially homogenous.
Once that white fluffy mat starts growing on the surface, it’s nearly impossible to break up. Remember, the point of growing the jar, is to suck up thr mycelium vs syringe needle. You’re going to 1) clog your needle with massive chunks 2) Not be able to suck it up, if not on the liquid.
You want to keep breaking it up on a regular basis, and putting glass chips or marble(s) into the jar will make this much easier, if you have a filter lid (can’t shake it, gotta cyclone it.) Also, the glass chips will give the mycelium something to grow on, which will help speed up growth initially (the starch will also help do the same thing)
Having nothing to break it up in the jar + not touching the jar for weeks = asking for problems.
Yeah, completely agree! that’s a very good piece of information you’re giving here.
Additionally, I recent follow another method which is to put a little piece of iron wire inside the jar before you sterilize. Then you build a very simple magnetic centrifuge, by gluing a piece of very strong magnet at the center of a PC fan. You’ll find detailed guides on internet, and maybe once I’ll write mine here as well :). Neodymium Magnet can be bought quite cheap (5euros each) in internet, or can be recycled from inside of old failed hard-disk.
Put your fan inside a box, and close to the surface put your jar. When the fan spin, the little piece of metal will create that little hurricane inside the jar and will also act as a mycelium breaker 🙂
Wait, you don’t PC your LC before you inoculate?