Guida al Compost [IT]

Per compost si intende il prodotto finito, un terriccio ricco di nutrienti pronto da usare puro o mischiato alla terra che si ha a disposizione

Il compostaggio è il processo naturale che avviene in un bosco per esempio, e che noi imitiamo per ridare alla terra i nutrienti che le richiediamo per far crescere i nostri ortaggi.

La casetta del compost

La compostiera più tipica è quella fatta coi pallet di riciclo. In estate va bene perché fa arieggiare, ma in inverno è meglio qualcosa di più protetto (per esempio mettendo dei legni dove mancano nei pallet stessi. Comunque io consiglio di farlo chiuso da tutti i lati, perché di solito l’arieggiatura dev’essere un processo che gli diamo noi quando serve, per esempio girando il cumulo con un forcone da una volta al giorno (per i più fanatici) a magari una volta a settimana.

Poi essendo il legno di pino molto leggero tende a disgregarsi anche in un solo anno. Se usi delle tavole di legno un po più spesse va anche bene. Se il clima è secco, va bene lasciarla aperta perché prenda acqua quando piove. Comunque è consigliato chiuderla e preoccuparsi direttamente dell’umiditá del cumulo, che deve essere molto alta (tipo 60%) aggiungendo acqua (piovana) quando è troppo secca, e foglie secche (carta, cartone, giornale, ecc) quando è troppo umida. Tra l’altro coprendola con un tettuccio puoi riciclare l’acqua piovana in una tanica di fianco e usarla proprio per inumidire quando ce n’é bisogno – che tipicamente, è proprio quando NON piove.

Il Volume deve essere di almeno 1 metro cubo, cioè di 1m x 1m x 1m, quando il compost è avviato, ma ovviamente si può iniziare da dimensioni più piccole, 200-300 litri.

Lombrichi

Continue reading “Guida al Compost [IT]”

Fugassa! Focaccia genovese [IT]

Ingredienti per 1 teglia da forno

  • 600 gr di farina
  • 350 ml d’acqua
  • 50 ml olio d’oliva extra vergine
  • 12 gr di lievito fresco

In una ciotola capiente versare l’acqua e l’olio, quindi aggiungere il lievito con un cucchiaino di zucchero. Mischiare con un cucchiaio di legno e lasciare riposare 5 minuti.

Aggiungere quindi la farina ed un cucchiaino e mezzo di sale quando la massa inizia a prendere consistenza e continuare ad ammassare fino ad ottenere una massa elastica e leggermente appiccicosa.

Impastare quindi per qualche minuto rettificando con un poco di farina quando la massa diventa troppo appiccicosa, fino ad ottenere una pallina liscia e omogenea.

Collocare quindi la pallina nella ciotola previamente unta con un filo d’olio, coprire con un piatto e lasciar riposare per 30 minuti.

Prendere quindi la pallina di massa e collocarla sul piano di lavoro previamente cosparso di farina. Schiacciarla dolcemente con il palmo della mano fino ad ottenere una forma rettangolare.

Piegare verso l’interno prendendo i due estremi del lato corto del rettangolo, capovolgere la massa e riformare la pallina.

Lasciar riposare per 15 minuti.

Ripetere nuovamente questa operazione e lasciar riposare per altri 15 minuti.

Prendere la pallina di massa e collocarla sul piano di lavoro previamente cosparso di farina. Schiacciarla dolcemente con il palmo della mano fino ad ottenere una forma rettangolare.

Prendere la teglia da forno e cospargerla generosamente con olio d’oliva in modo da coprirne l’intera superficie

Prendere gli angoli del lato corto superiore della massa e piegarli verso l’interno creando una sorta di punta triangolare, quindi arrotolare la massa su se stessa fino a darle la forma di uno sfilatino.

Collocare lo sfilatino nella teglia girandolo in modo che sia unto su entrambi i lati, collocando il lato di giuntura della massa a contatto con la teglia.

Lasciar riposare per 30 minuti.

A questo punto iniziate a schiacciare con il palmo della mano la massa in modo che in tre passaggi abbia raggiunto la totalita della superficie della teglia: stesura / 15 minuti di riposo / stesura / 15 minuti di riposo / stesura.

Coprire la teglia con pellicola trasparente senza tendere troppo la pellicola sulla teglia.

Lasciar riposare per 1 ora e mezza.

Preriscaldare il forno a 220 gradi.

Rimuovere la pellicola e praticare con i quattro polpastrelli della mano delle cavitá su tutta la superficie della massa per creare i tipici “buchi” della focaccia genovese.

Quindi cospargere con tre spizzicate di sale grosso la massa della focaccia.

In un bicchiere versare acqua e olio fino a raggiungere un terzo del bicchiere. Le proporzioni sono 1 misura d’acqua e 2 d’olio.

Emulsionare il contenuto del bicchiere con un cucchiaino fino a mischiare i due elementi e versare sulla focaccia.

Cospargere in modo uniforme tutta la superficie della focaccia e infornare.

Prima di chiudere il forno versare un bicchierino d’acqua sulla leccarda per creare vapore nel vano del forno.

Verificare la cottura ed eventualmente girare di 360 gradi la teglia a metá cottura e togliere dal forno quando la focaccia é bella dorata. Calcoliamo tra 15 e 25 minuti dipendendo dal forno.

Buon appetito figgeu!

Pizza! Preparación de la masa [IT]

Ingredientes

  • 1Kg de harina de trigo 00
  • 50cl de agua (el 50% de la harina)
  • 12,5 g de levadura fresca (7g de levadura en polvo)
  • 10-13g de sal fina (el 1% de la harina)
  • aceite de oliva extra-virgen

Preparación

Activar la levadura

Calienta el agua a 20-22 grados (si no tienes termómetro, cuando el agua está acerca de 20 grados puedes introducir el dedo sin quemarte ni sentir mucho calor).

Añade rompiendo en pedacitos la levadura (o echando el sobre en caso de levadura en polvo) junto con un poquito de harina y de azúcar blanco (media cucharadita de te de cada uno).

Deja descansar de 20 minutos a una hora. Cuando se forme una ligera capa de “espumita” en la superficie, la levadura está activada. Si no se forma la capa, puedes esperar un poco más, o echarla así.

Preparar la masa

Echa todo el kilo de harina y la sal en una olla grande, mezclando un poco. Dejar un agujero alejando la harina a los lados. Echa el agua con la levadura poco a poco mientras vas mezclando con una cuchara de madera. A mitad operación, añades un chorro de aceite de oliva extra virgen. Sigues mezclando con la cuchara hasta que nos puedas más :). A este punto sigues con tus manos, amasando del exterior hacia el interior, de abajo hacia arriba. Está operación deja mucho oxigeno adentro de la masa, que ayudará a su fermentación.

Cuando tienes una bola uniforme, ligeramente mojada, la masa está lista !

Fermentación de la masa

Deja la masa en la olla, y cúbrela con un trapo mojado. Deja la olla a temperatura de 20 / 22 grados durante al menos un par de horas (mejor 4 horas) en caso de haver usado levadura fresca. En caso de levadura en polvo, multiplica por dos (al menos 4 horas, mejor 8).

Sigue ROT para la segunda parte:
como hacer la pizza,
el manejo del horno,
los ingredientes…

Pleurotus Ostreatus on animal litter spawn [EN]

Preparing the substrate for spawn

  • 150g of animal litter (natural, organic, compressed wood)
  • 300g of water
  • One spoon of starch (potato or manioca)
  • 4% of ecologic honey (cane sugar or molasses is also fine)

Dilute the honey and starch into the water, then add it to the wooden bits. Soak the wood litter in water for a while. When the wood is fully absorbed, it doesn’t have to show extra water on the ground, nor dried parts either. Leave it rest for sometime.

Steam sterilize the jar

Put the wooden bits with all the ingredients in a jar (the lid of the jar must have an air filter, see previous articles on how to do it).

In a pot, put some water on the ground, then keep the jar lifted up with some metal structure. turn on the fire and when the water boils, keep the jar to steam-sterilize for about one hour.

Inoculation

The procedure is the same as explained in previous articles: with all the environment clean and the tools sterilized, cut open a piece of Pleurotus Ostreatus mushroom and put some pieces of the internal side of it in to the jar.

Close the lid and keep the jars at about 23 degrees Celsius for a bunch of weeks.

Your jar will be fully colonized when you see the white mycelium running all over it.

Now you have a full jar of spawn ready for the inoculation of your final chosen substrate to grow the mushrooms on.

Enjoy!

Homemade bread in electrical oven [EN]

This recipe is for about 1Kg of white bread. Once you have some experience with the procedure, you can experiment with other flours and procedures as well. The important thing in my experience is to know about your oven, in order to use it properly for an amazing home-made bread experience 🙂

Activate the yeast

  • 600ml of water at 25 Celsius degrees
  • 12.5g fresh yeast (break it in small pieces)
  • one teaspoon of white sugar
  • one teaspoon of white wheat flour

Stir well and let the mixture rest for about 20 minutes: when you see a thin layer of foam on top of the water the yeast is activated. If the foam doesn’t form, don’t worry: your yeast will be kicking out inside the flour on the next phase anyway.

Knead the dough

  • 1Kg of white flour
  • one teaspoon of salt
  • one tablespoon of extra virgin olive oil
  • spices: a bit of rosemary or oregano and some sesame seeds (here you can experiment with lot of different combination of spices and seeds!). You can mix spices and seeds if you want: this will give more flavor to your bread.
Continue reading “Homemade bread in electrical oven [EN]”

Two Medicinal Mushrooms: Fomitopsis Betulina and Fomitopsis Pinicola [EN]

Fomitopsis Betulina (Birch Polypore)

An amazing medicinal mushrooms that likes to grow on birch trees. This plant has been used for thousands of years (a lump was found in a medicine pouch when they discovered the almost 6000 year old body Ötzi the Ice Man some years ago!).

It act as an immune tonic, anti-inflammatory, anti-tumor, anti-parasitic, laxative, anti-septic, anti-viral and anti-bacterial. Studies have indicated that the Birch Polypore acts as an aromatase inhibitor, meaning it helps to prevent the conversion of androgen hormones into estrogen. This is important in both men and women as high estrogen levels are linked to many hormonal imbalances and cancers.

Fomitopsis Pinicola (Red Belted Conk)

Fomitopsis Pinicola is a widespread wood-eating medicinal mushroom who goes by the common names Red-belted Conk and Red-banded Polypore. This species often grows on dead or dying conifers, but can also consume various hardwoods. Red-banded Polypore has a cream-colored pore surface, from which reproductive spores are released. This tough polypore is perennial, often persisting for years. Though not well known as a medicinal, Greg Marley writes that decoctions and tinctures made from this tree mushroom are anti-inflammatory and immune system supporting.

From a research dated 31st January 2020: “The compounds that are present in the fruiting bodies of F.pinicola included many useful enzymes, steroids, triterpenes and triterpenes derivatives, anti-tumor active constituents, and health beneficial nutritious compounds. These principal compounds showed important medicinal effects on the human body by providing a shield effect to the internal organs against diseases and also heal the damaged tissues and organs. The pharmacological effects of F.pinicola active constituents include anti-tumor, anti-diabetic, anti-hyperlipidemic by controlling obesity, anti-oxidant effect, anti-microbial and anti-inflammatory properties”.

Substrates for Pleurotus Ostreatus [EN]

Pleurotus Ostreatus (but other types of Pleurotus family as well) will grow on almost any ligno-cellulosic material.

A short list of products could be: straw, corn cobs, sawdust, cork, banana leaves, cotton seed hulls, newspaper, cardboard, toilet paper rolls, coffee pulp, sawdust, cocoa, peanut and coconut shells, cotton seed hulls, Jamaica, cassava peels, cotton, sorghum, corn stalks, grass, clover, wood, wastes of rice, wheat, cotton from textile industry, corncobs, crushed bagasse and molasses from sugar industry, water hyacinth, water lily, bean, wheat straw, leaves, oil-palm fiber, paper and paddy.

See same examples:

Date Palm leaves: https://www.ncbi.nlm.nih.gov/pmc/articles/PMC4250492/

Ficus Vasta leaves: https://www.imedpub.com/articles/cultivation-of-pleurotus-ostreatus-mushroom-on-ficus-vastaleaves-solid-waste-of-plant-at-dilla-university-ethiopia.pdf

Grevillea robusta leaves: https://academicjournals.org/journal/JYFR/article-full-text-pdf/99C47C847266

Banana leaves, rice straw, wheat straw, mixture of rice and wheat straw and saw dust: http://www.ijsrp.org/research-paper-0618/ijsrp-p7832.pdf

Production of insulation panels with Pleurotus Ostreatus mycelium: https://criticalconcrete.com/producing-mycelium-insulation/

Libro: Nestor Palmetti – Cuerpo Saludable [ES]

COMO RESOLVER PROBLEMAS CRÓNICOS CON LA DEPURACIÓN

Este libro aporta una visión cuestionadora del actual paradigma de salud, que no brinda respuestas a los problemas crónicos y degenerativos. Se propone un abordaje alternativo, basado en el sentido común y en el concepto de ensuciamiento corporal como causa real y profunda de las enfermedades. Estimula a conocer las leyes biológicas que rigen nuestro maravilloso cuerpo humano y a respetar su inteligentísima fisiología. Está destinado a un público vasto: enfermos agobiados por padecimientos crónicos o degenerativos, personas interesadas en mejorar su calidad de vida y sobre todo a quienes están dispuestos a transitar el dignificante camino de la autogestión de la salud.

Lo que habitualmente llamamos enfermedad, es solo un síntoma del estado de desorden al cual hemos llevado a nuestro organismo. En sí mismo, el cuerpo humano tiene gran cantidad de maravillosos mecanismos para resolver problemas a los que puede verse sometido: excesos, carencias, toxicidad, etc. Pero nuestro moderno estilo de vida se las ha ingeniado para colapsar esa increíble armonía, malogrando la natural capacidad de adaptación a los inconvenientes.

Asumir esta realidad, representa el cincuenta por ciento de la solución de nuestros actuales problemas de salud. Y ese es el objetivo de esta publicación: que el lector comprenda cómo él mismo ha generado tal situación de desorden y -por sobre todo- cómo él mismo puede remediar tal problema, en la medida que retorne a los hábitos saludables que nunca debió abandonar.

Continue reading “Libro: Nestor Palmetti – Cuerpo Saludable [ES]”

Czym są Efektywne Mikroorganizmy (EM)? [PL]

Koncepcję Efektywnych Mikroor-ganizmów (EM) opracowano we wczesnych latach 80. XX w. na Uniwersytecie Ryukus na Okina- wie. Jej twórca, profesor Teruo Higa odkrył, że połączenie około osiemdziesięciu różnych rodzajów mikroorganizmów może korzyst nie zmieniać proces rozkładu ma- terii organicznej, a nawet nada-wać mu „życiodajny” charakter.
W skład mieszanki Efektywnych Mikroorganizmów wchodzą dob- roczynne i niepatogenne drob-noustroje, np. bakterie kwasu mlekowego, drożdże i bakterie
fototroficzne, które występują w środowisku naturalnym.
Tłumacząc działanie Efektywnych Mikroorganizmów, Higa powołał się na zasadę dominacji. Wyróżnił trzy typy drobnoustrojów: konst- ruktywne (regeneratywne), ne-
gatywne (gnilne, degeneratywne) oraz oportunistyczne.
Uwarunkowania ekologiczne każ- dego środowiska (gleby, wody, powietrza, skóry, jelit) zależą w dużej mierze od dominującego typu mikroorganizmów. Kluc- zowe znaczenie ma proporcja drobnoustrojów konstruktywych i degeneratywnych, ponieważ oddziaływanie mikroorganizmów oportunistycznych może być po- zytywne lub negatywne w za- leżności od dominującej tendenc- ji. Środowisko zdominowane jest
obecnie przez mikroorganizmy negatywne (np. te odpowiedzial ne za rozkład materii organicznej i wywołujące choroby). Neutrali zacja różnego rodzaju nieczystoś-
ci, które masowo wytwarza czło wiek i jego działalność, to kwestia coraz bardziej paląca dla ludzi i środowiska na całej planecie.
Higa był zdania, że można korzy stnie wpłynąć na dane środowisko wprowadzając do niego mikroor- ganizmy konstruktywne. Uważał, że da się zmienić mieszankę robnoustrojów i nadać Efektyw nym Mikroorganizmom dominu jącą rolę.
EM po raz pierwszy znalazły zastosowanie jako bezpieczna alternatywa dla syntetycznych substancji chemicznych wykor zystywanych w rolnictwie. W
toku szeroko zakrojonych badań i eksperymentów, z biegiem czasu znajdowano dla nich nowe zas tosowania, lecz mimo to wiele pozostaje jeszcze do odkrycia.
Po wprowadzeniu do środowiska naturalnego, EM sprzyjają zdro wemu środowisku mikrobowemu.

Continue reading “Czym są Efektywne Mikroorganizmy (EM)? [PL]”

A practical guide to make Effective Microorganisms [EN]

Hi there!

Today I’ll write about making your own culture of EM (Effective Microorganism). We’ve wrote about EM in two previous articles:

In this guide I’ll elaborate the method a bit more, and show you a few photos.

In this moment I’m making EM cause I need them for two reasons:

  1. I need to clean the pipes of the kitchen sink in my house. Recently, the water start flowing down more slowly and I believe there is an accumulation of organic matter in the pipes.
  2. I’m experimenting with a small-size, balcony-type, earth-worm-powered compost, and I want to boost it regularly with EM like you would do on Bokashy Compost.

I’ll write down the instructions as well as my personal considerations and photos around the whole method here below:

  1. Take a handful of rice, let’s say 80-100 grams and put it in a container. Of course, you should use ecologic, integral and unprocessed rice for this purpose.
Continue reading “A practical guide to make Effective Microorganisms [EN]”

Mushrooms Cultivation: DIY Liquid Culture [EN]

Hello!

Today I will write about making your own liquid culture for mushroom growing.

The liquid culture is a liquid mix of nutrients that will help the mycelium to grow healthy prior to inoculation. It’s very effective cause with a very little amount of liquid culture you can inoculate directly a big amount of soil or spawn.

Liquid Culture of Pleorotus Eryngii: you can see the liquid culture completely colonized and the white fluffy mycelium growing all over inside the jar
Continue reading “Mushrooms Cultivation: DIY Liquid Culture [EN]”

Notes: Workshop on Effective Micro-organisms [EN]

Hi !

I will post today this notes taken from a workshop I was participating a while ago, with some overview on the method to cultivate and use the Effective Micro-organisms (EM).

Effective micro-organisms

When we’re talking about effective micro-organisms (EM) we mostly mean a bunch of different species of micro-organisms with beneficial effects for processes in all natural environments. Effective Microorganisms consist of beneficial and non-pathogenic microorganisms such as Lactic Acid Bacteria, Yeast and Phototrophic Bacterias, which are found in many places in the nature: on our skin, in the water, in the air, in the food etc. By choosing certain kinds of micro-organisms and by increasing their amount in a certain place we can positively affect the environment in different ways.

Continue reading “Notes: Workshop on Effective Micro-organisms [EN]”

DIY Mushroom Spawn creation – Experimental inoculation of pistachio shells [EN]

Hi there!
Today I’ll write about an experiment I conduct by inoculating pistachio nut shells in order to create my own spawn for further mushroom growing.

Soaked pistachios shells jar When filling the jar, I added some pieces of wet, squeezed cardboard to help absorb the excess water inside it

For this experiment I used a fresh mushroom bought in supermarket, the King Oyster mushroom (Pleorotus Eryngii).

Continue reading “DIY Mushroom Spawn creation – Experimental inoculation of pistachio shells [EN]”

Notes: Growing Mushrooms on coffee ground [EN]

These are the expanded notes of a workshop I was participating a while ago.  You can maybe find some useful information in here, it’s a sort of a very resumed article that explain a method for cultivating mushrooms on your own at home + some background information. More than a guide, is an overview over the method. Enjoy!

Mushrooms Workshop

Theory

Mushrooms that grows in the nature are mainly decomposing the matter. They are at the base of life: they break materials like lignine, cellulose and minerals and split complex elements into smaller chemical substances that are beneficial not only for the organism itself, but also more easily absorbed from the organisms in the surrounding environment. What we call “mushroom”, is just the visible part of a very extended system of “roots” (hyphae) called mycelium, which is the actual organism.

Continue reading “Notes: Growing Mushrooms on coffee ground [EN]”

Growing King Oyster Mushroom on coffee ground in a plastic container [EN]

Today I will write about growing Pleorotus Eryngii – the King Oyster Mushroom – in a plastic container.

I used a plastic container suited for keeping your spaghetti dry in the shelf.
As substrate, I used spent coffee ground (about 60%), carton (20%), peanut and pistachio shells (20%).

The plastic container I used is made in PP 5 (Polypropylene).

Details:
The container is about 2.2 Liters and I used water at 90 degrees to sterilize it internally, just a couple of washes. In addition, I cleaned it internally with alcohol, as the top lid is big enough to fit my hand inside. Apparently, PP 5 could even support a steam-pasteurization, but I didn’t try that yet. Continue reading “Growing King Oyster Mushroom on coffee ground in a plastic container [EN]”

Growing Oyster Mushroom on coffee ground in a plastic bottle [EN]

Today I will write about growing Pleorotus Ostreatus – the Oyster Mushroom – in a plastic bottle.

As substrate, I used spent coffee ground (about 60%), carton (20%), peanut and pistachio shells (20%).

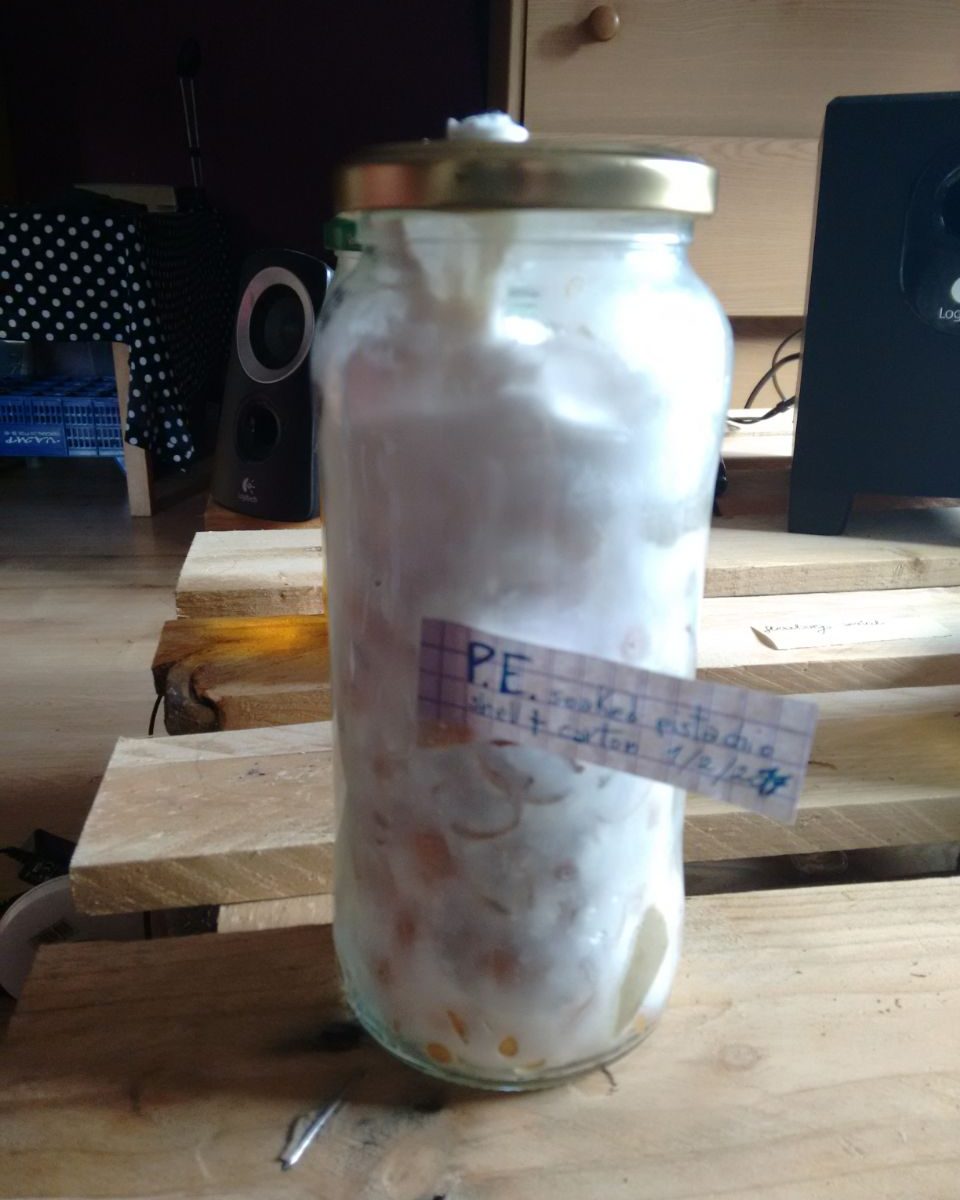
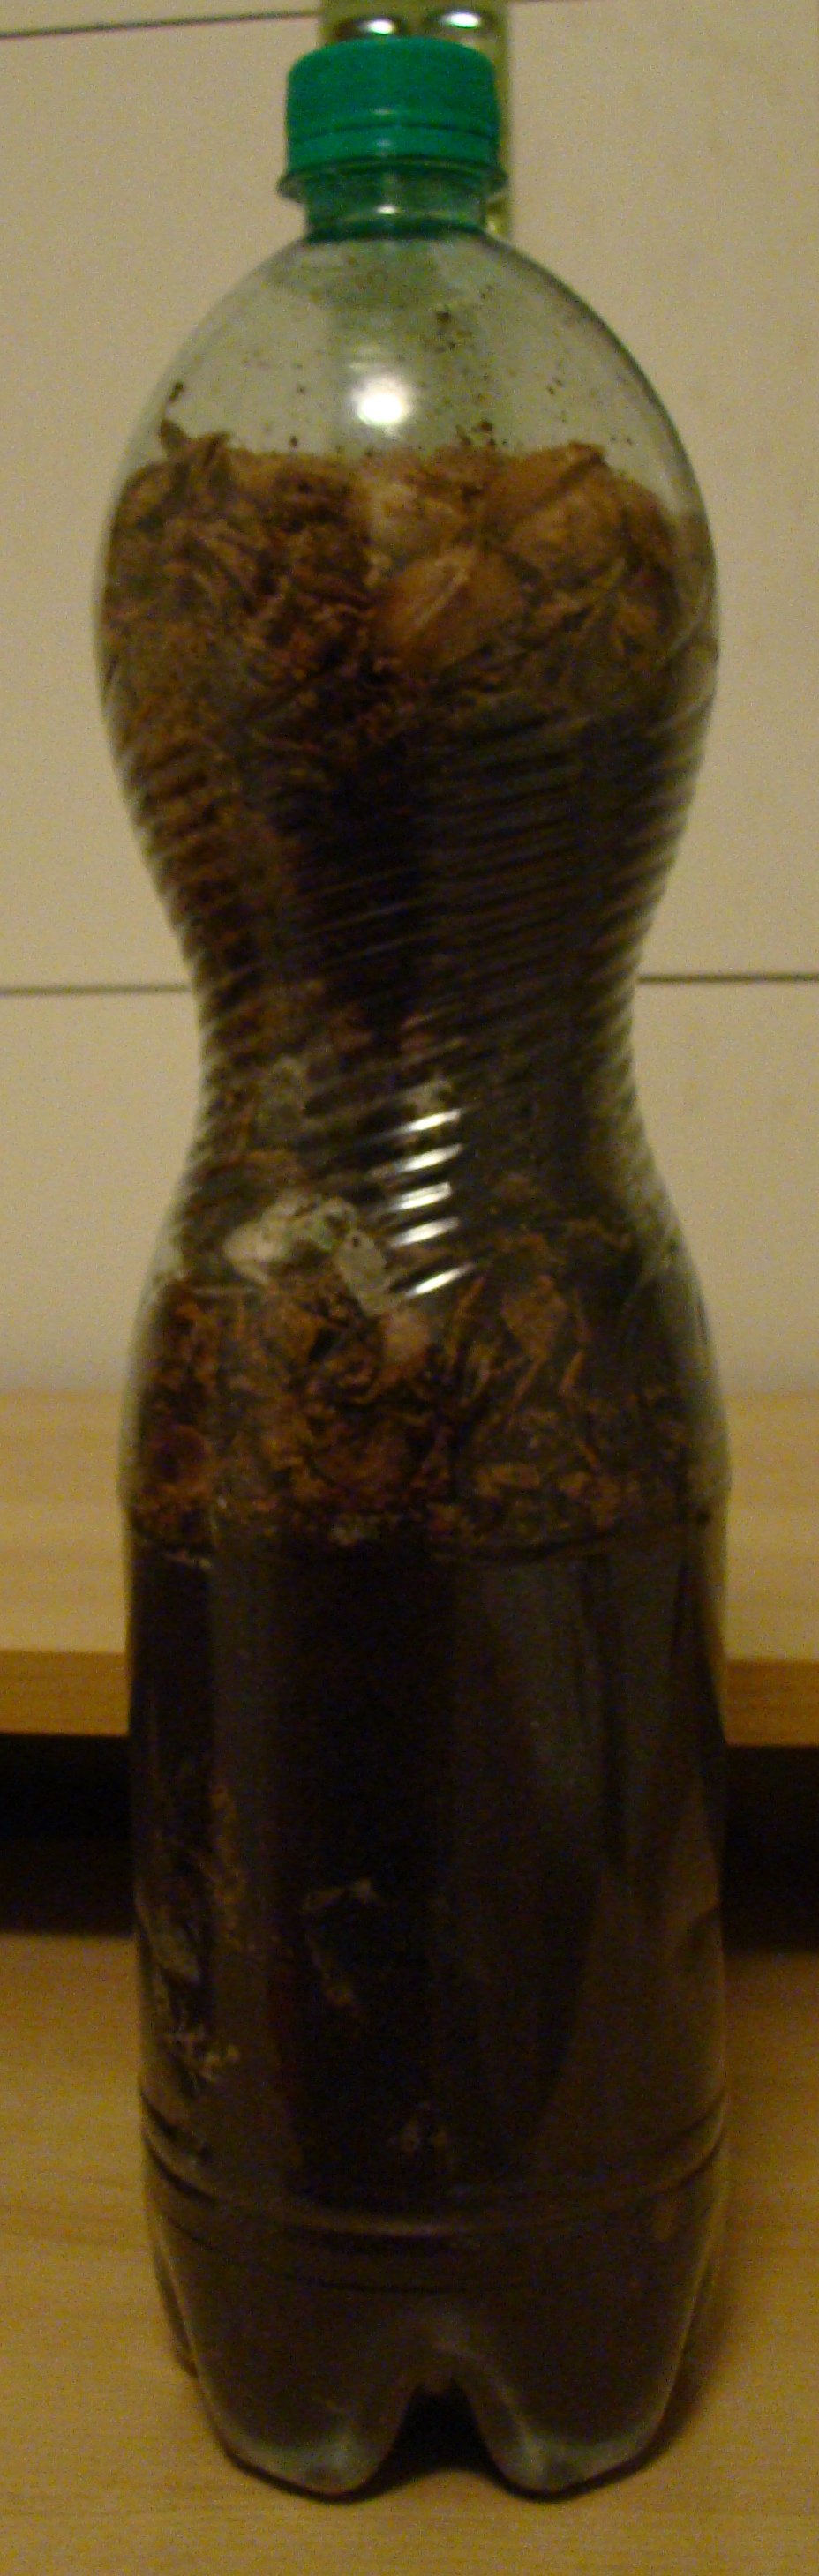
I used an empty water plastic bottle, made in PET 1 (Polyethylene).

Details:
The bottle is 1.5 Liter and I used water between 60 and 80 degrees to sterilize it internally, just a couple of washes. In addition, you can add some alcohol inside (don’t inhale in case you do this, hot water + alcohol creates gasses!). Higher temperatures are also possible, but water at 90-100 degrees modify the structure of Polyethylene 1, so it should be used very shortly. Continue reading “Growing Oyster Mushroom on coffee ground in a plastic bottle [EN]”