
Today I will write about growing Pleorotus Ostreatus – the Oyster Mushroom – in a plastic bottle.
As substrate, I used spent coffee ground (about 60%), carton (20%), peanut and pistachio shells (20%).
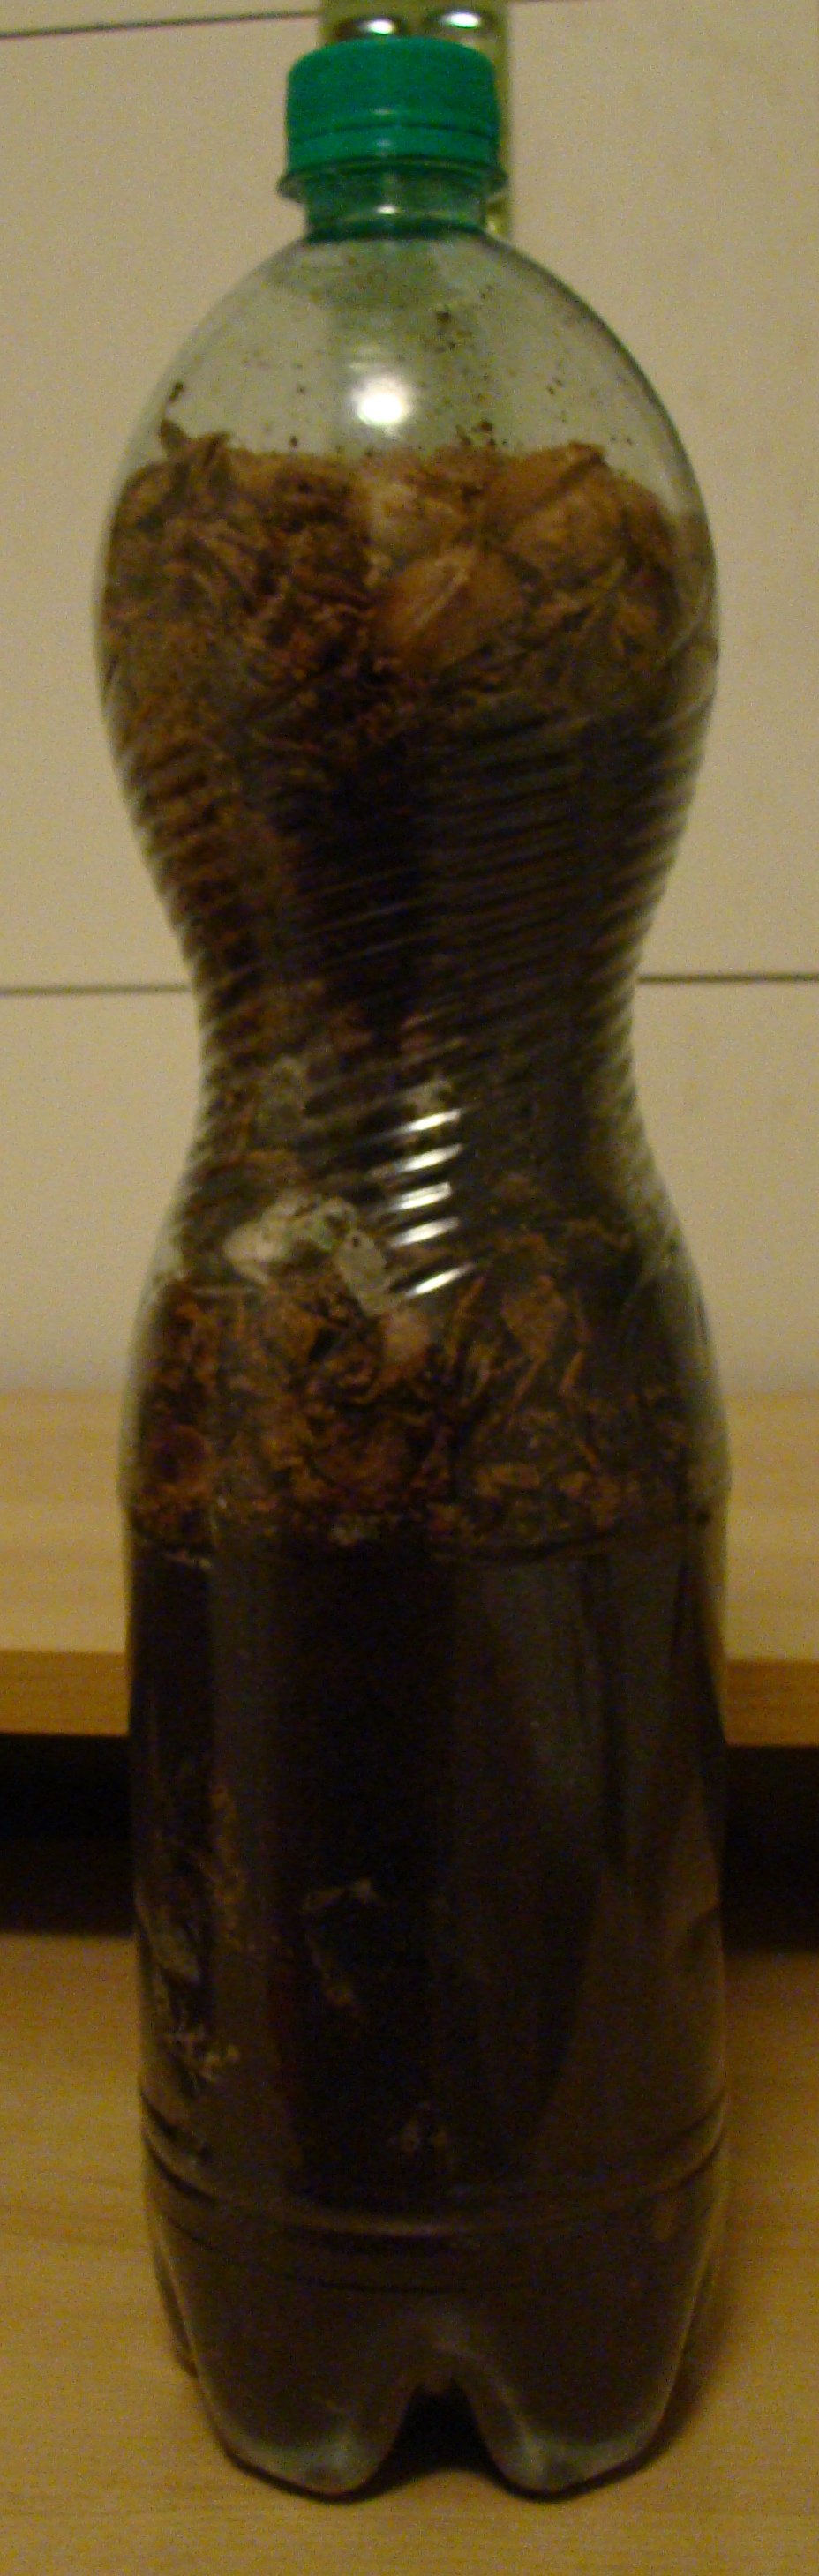 I used an empty water plastic bottle, made in PET 1 (Polyethylene).
Details:
The bottle is 1.5 Liter and I used water between 60 and 80 degrees to sterilize it internally, just a couple of washes. In addition, you can add some alcohol inside (don’t inhale in case you do this, hot water + alcohol creates gasses!). Higher temperatures are also possible, but water at 90-100 degrees modify the structure of Polyethylene 1, so it should be used very shortly.
This time, I didn’t add an air-filter. But you can do that by putting a hole on the center of the lid, fit a cigarette filter through it, and seal both side with silicon. White silicon is fine, I use it even when steam-pasteurize jars with filtered lids, but if you use a pressure cooker, you may want to use the red one (the one resistant to higher temperatures).
Before you read this, you may want to read “Tips for cleaning and preparing mycelium transfer” (work-in-progress).
I added at the base a “bottom casing layer” made of peanut shells (80%) and pistacho shells (20%), about a few centimeters height.
Details:
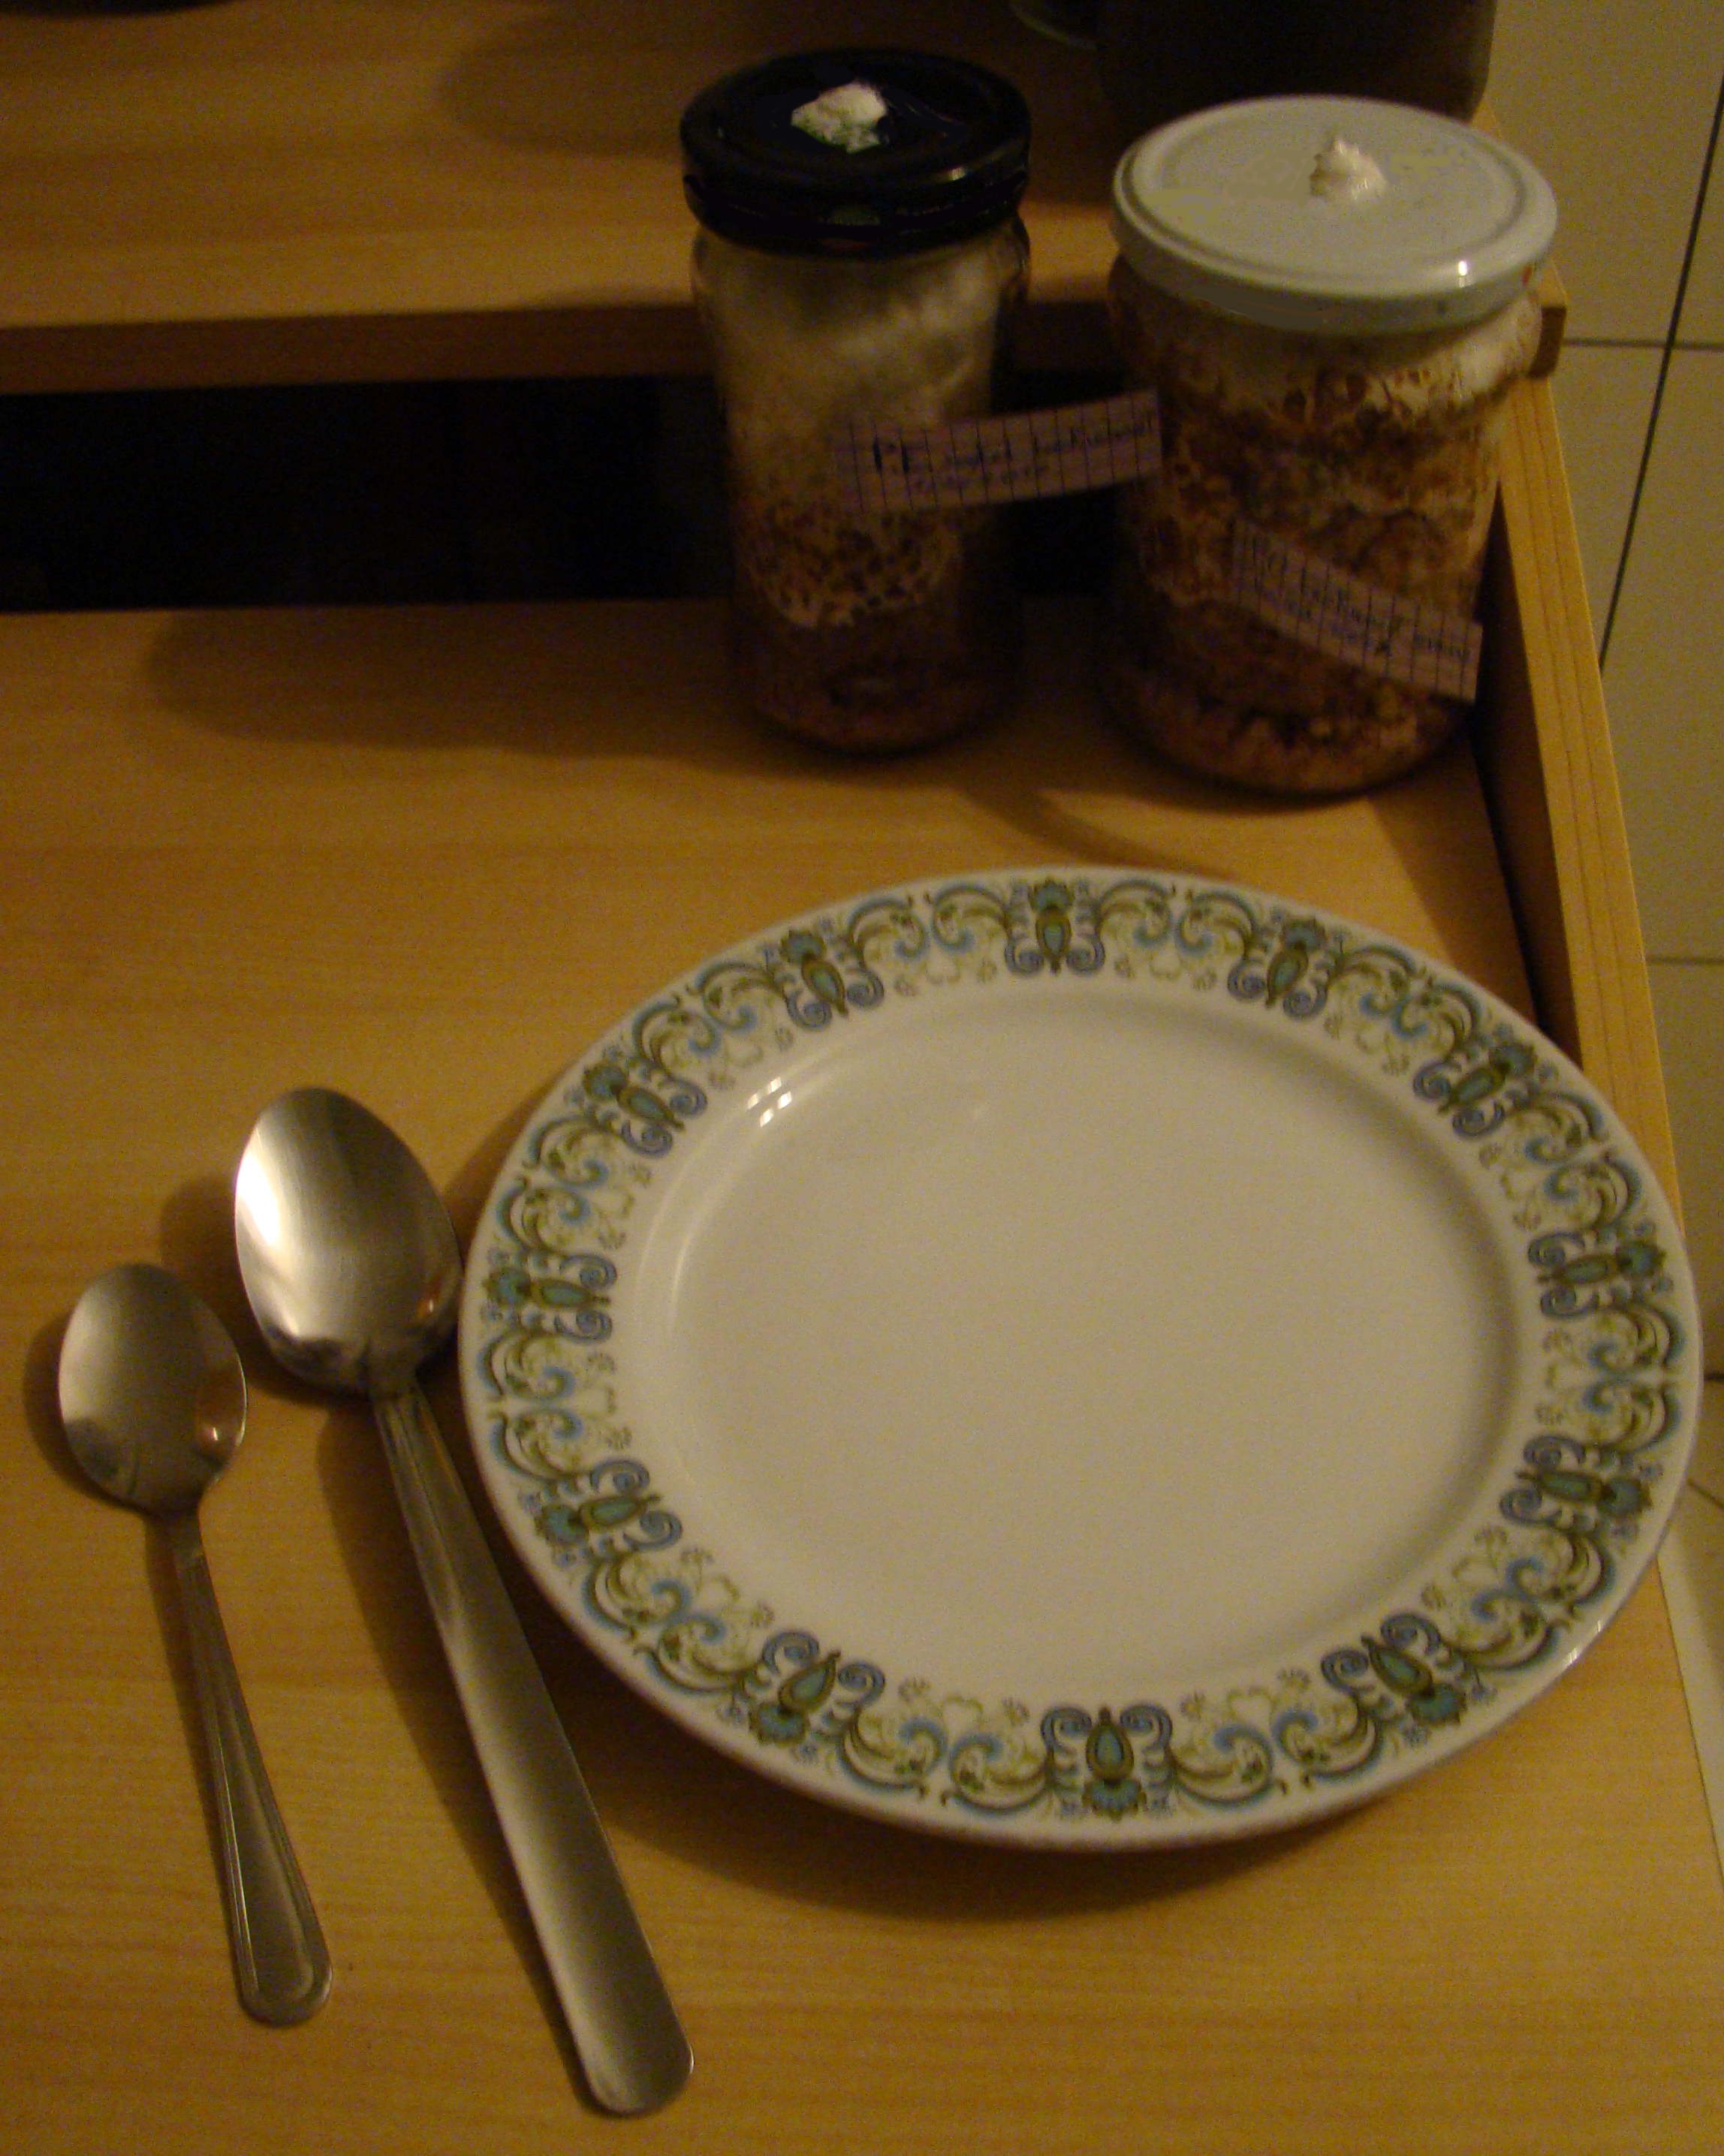
The shells where previously soaked in cold water for 24h, minced down a little bit with a kitchen machine, centrifuged (with a juice machine! but a manual centrifuge for salad will also do) to let the excess of water out and then steam-pasteurized for an hour inside 500ml jars.
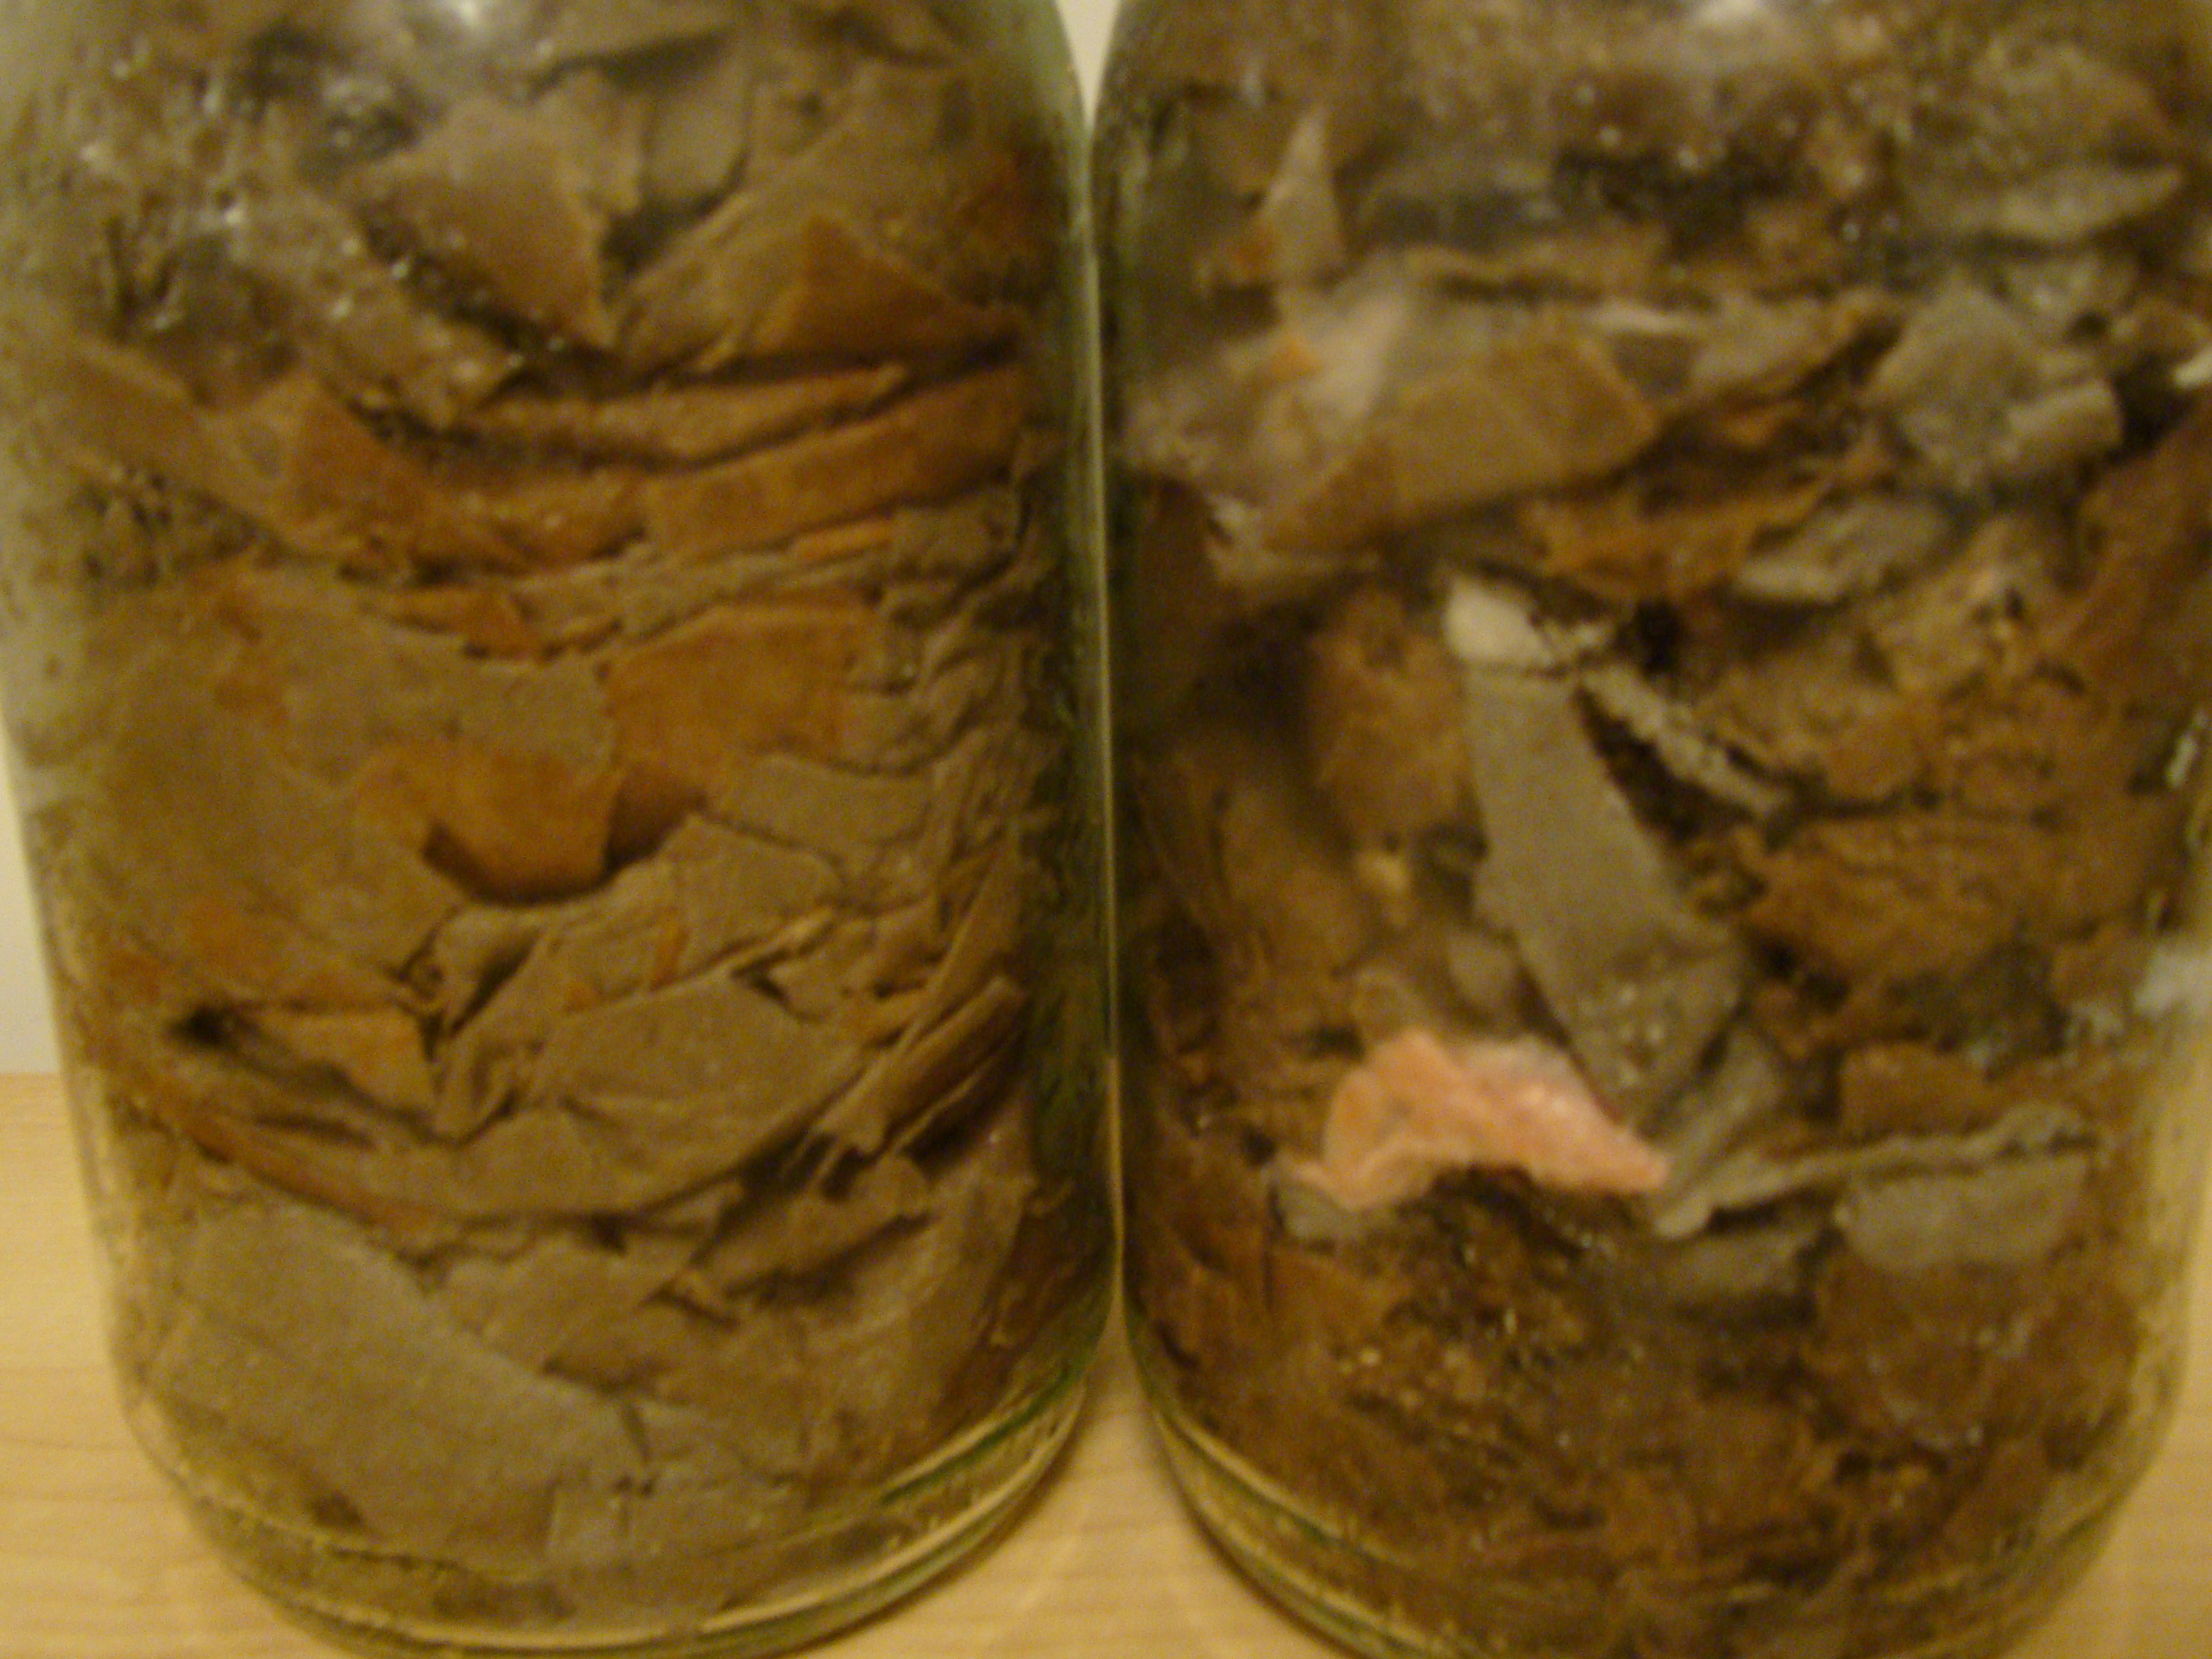
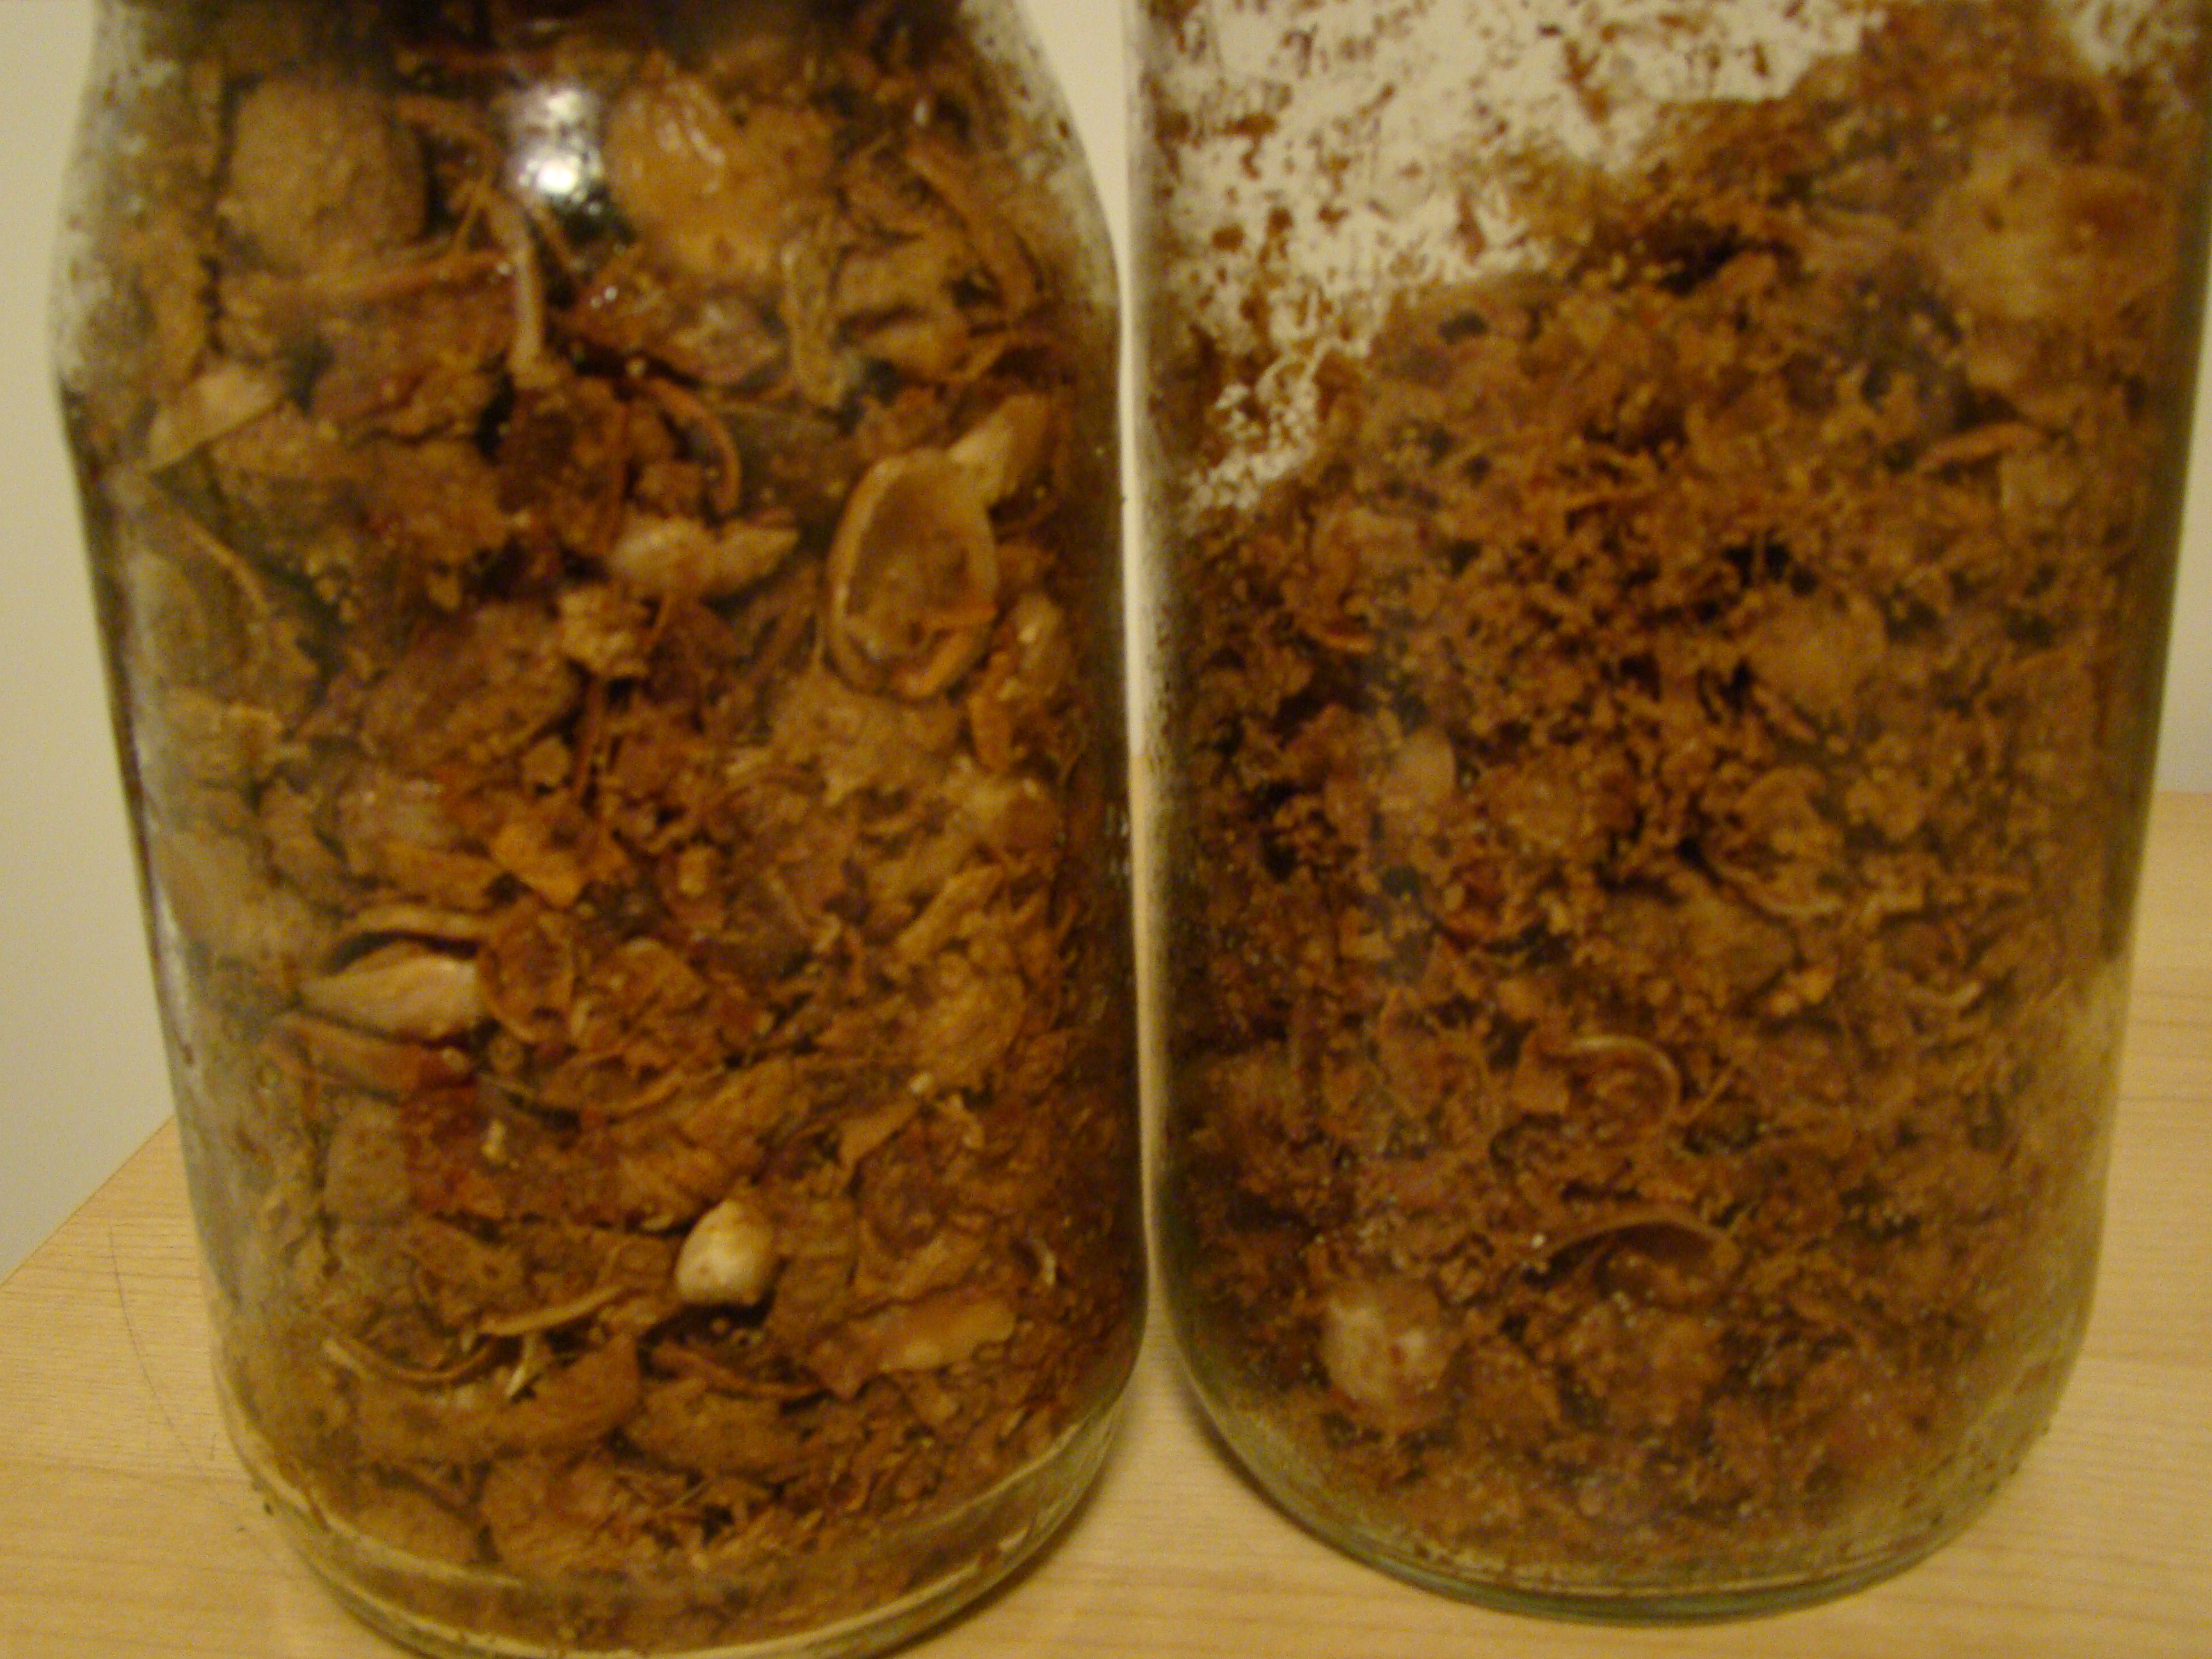 Then, I added one layer of spent coffee ground, one layer of carton, the colonized buckwheat grains with mycelium and one layer of the same shells, and finally gave it a gentle shake to mix these ingredients. Repeated the operation until the bottle is filled (I repeated two times only). On the top of the bottle, I apply a “casing layer” of about a few centimeters made from the same shells, but chopped in smaller size.
Details:
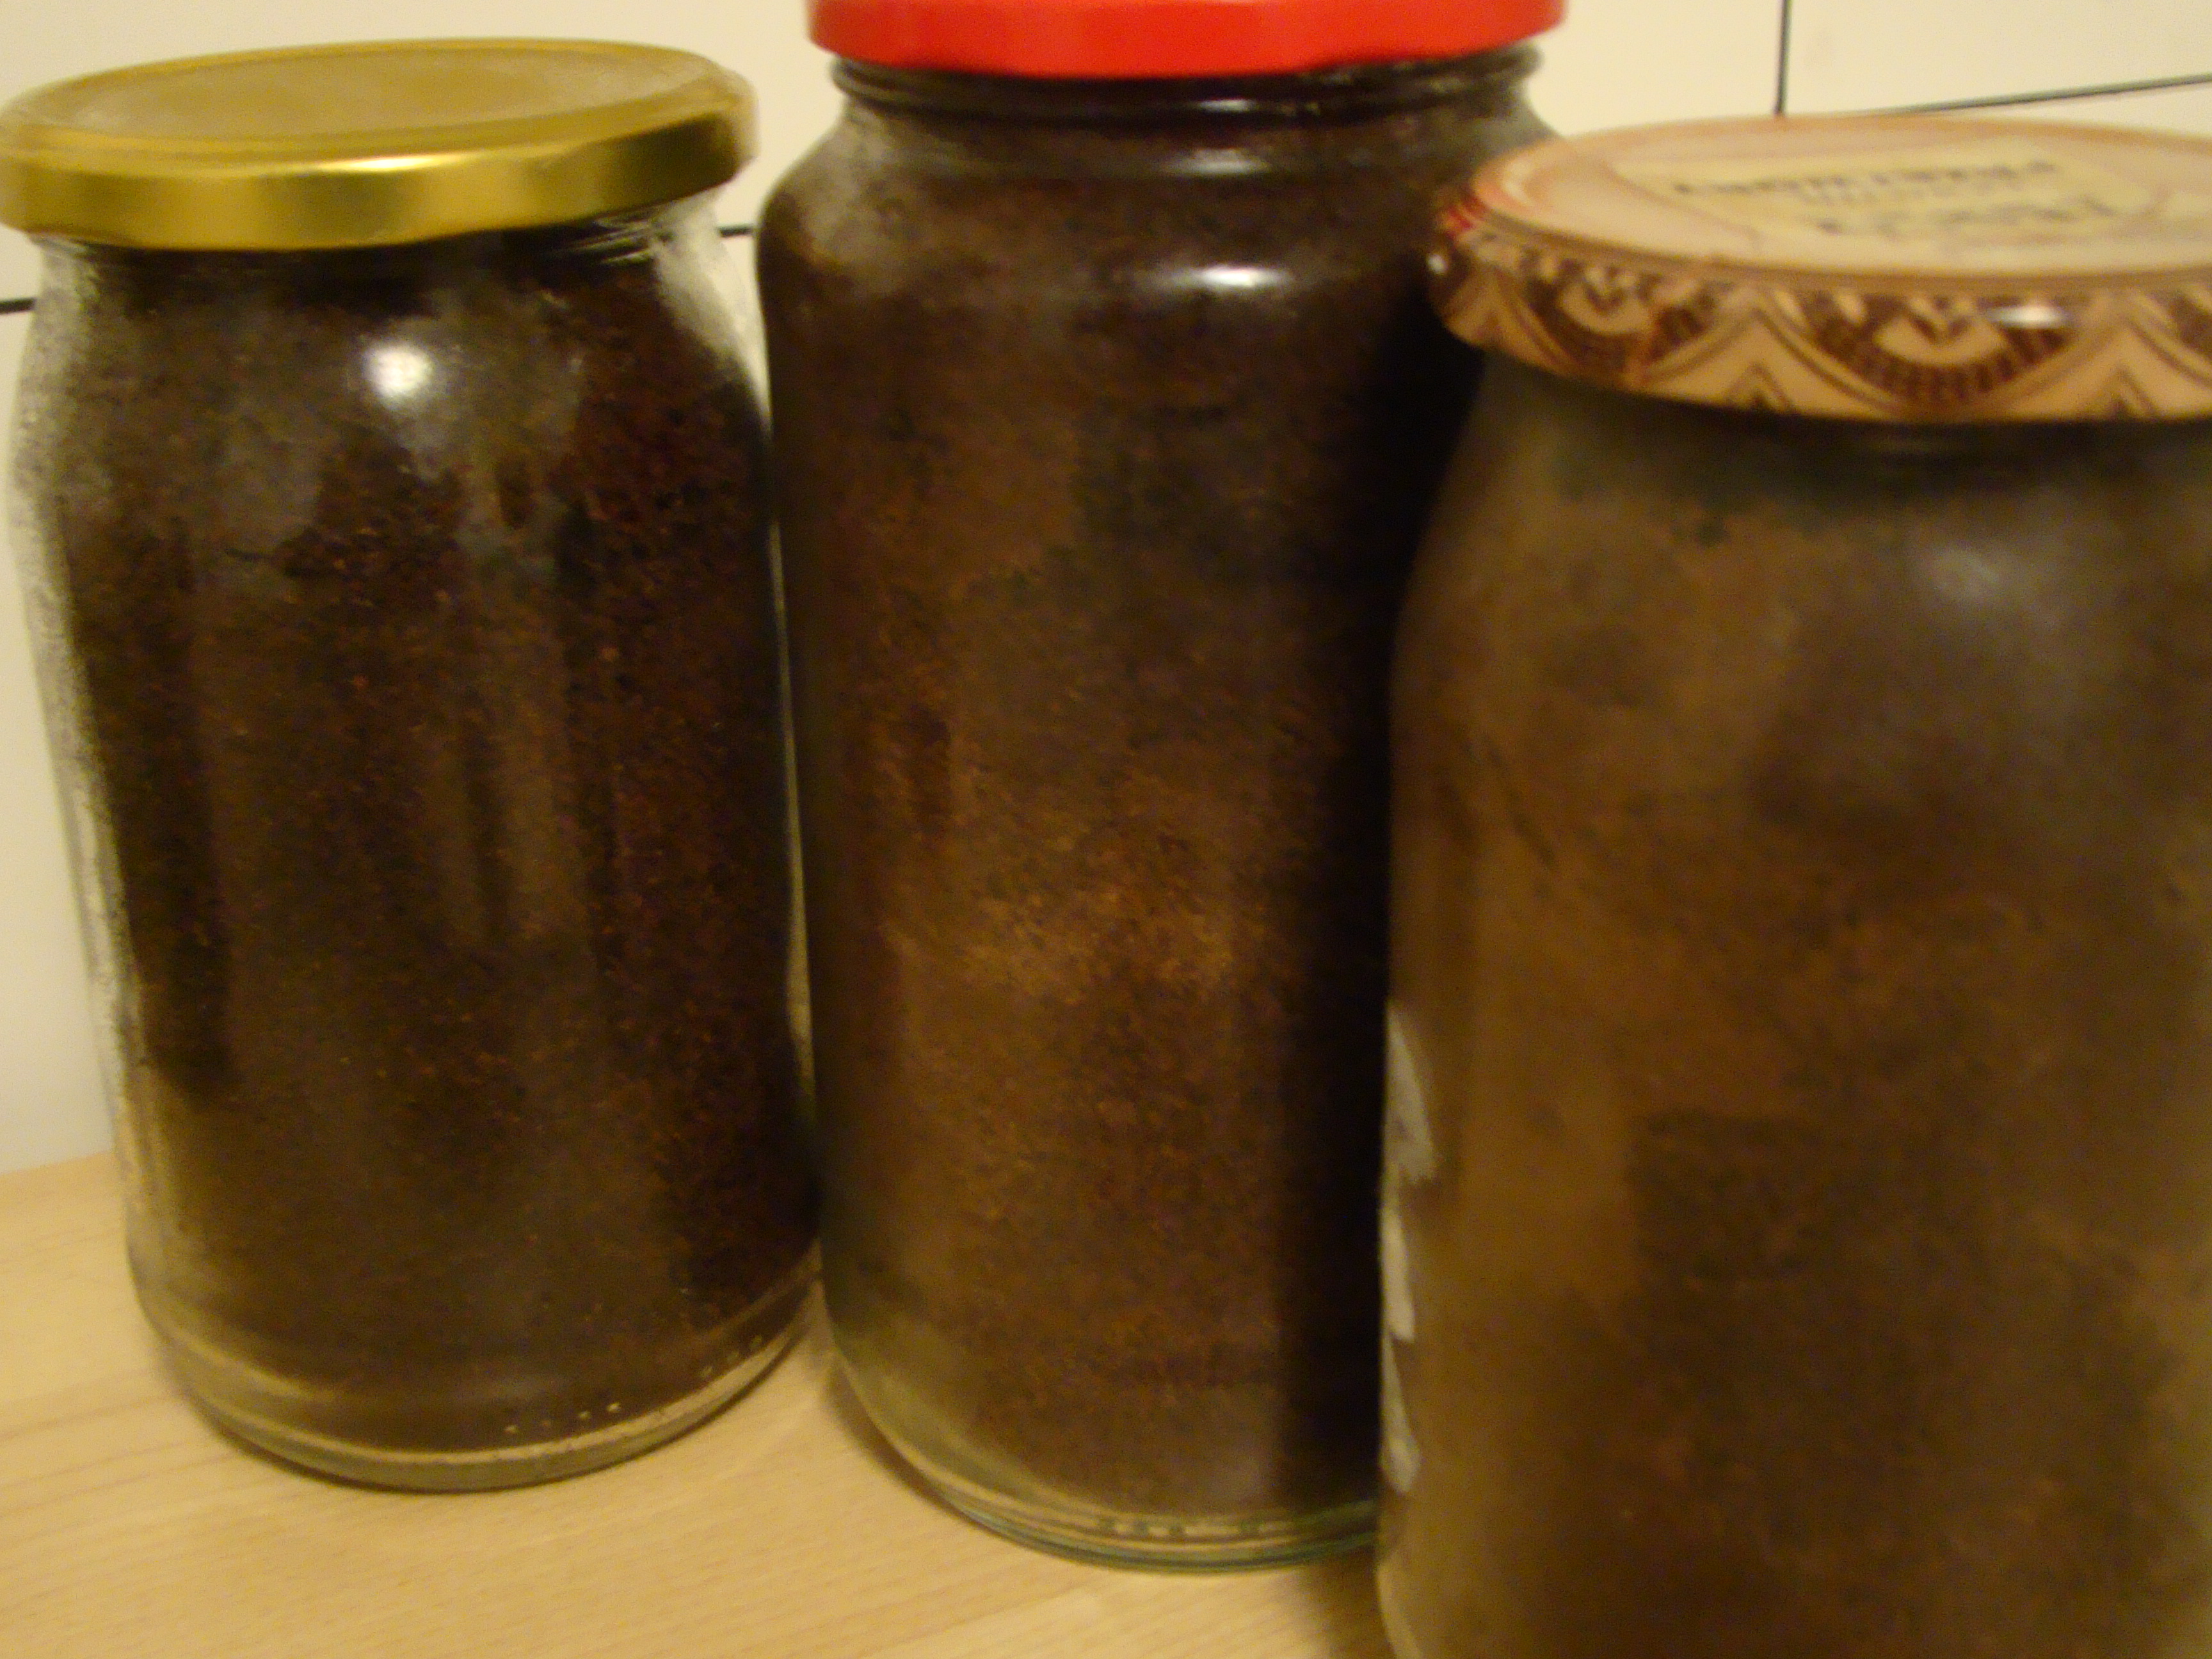
Coffee ground: it’s taken from caffettiera machine, it comes out with pretty much the amount of water that you need (60%), kept in a jar in the fridge until the jar is full, and then steam-pasteurized for an hour. I then keep the jar(s) back in the fridge until I have the amount needed. Remember to take out of the fridge the jars one or two hours before using them, so they warm up again at ambient temperature.
Carton: I use corrugated type + toilet paper used roll, I took out the parts with ink if any, smashed it in small pieces (5-6 centimeters, you don’t need to be precise here), put it in hot water (90 degrees) for an hour, then squeezed the water out by hand, strip the ball that you create into small pieces and put them in the jar. Steam-pasteurize the jar for an hour then keep in the fridge.
Mycelium: I grow mycelium myself on cereal grains, in this case I used buckwheat. I soak the cereals in water for 24h, centrifuge to let excess water out, put them in the jar, steam-pasteurize it for an hour. When it’s cooled down, I clean everything, then take a few small pieces of mushroom from inside the stem and put it inside the jar, shake gently to mix it with the content. You may want to read “How to grow Mycelium on your own” for the full guide (work-in-progress).
Keep the bottle in a dark place at 23 degrees (20 degrees is also fine) until the material is fully colonized, then move bottle in the place you choose for fructification, and put some holes on it where you want the mushrooms to come out, possibly on the lower part of the bottle (much nicer 🙂 no, I’m joking 😉 it’s the way this mushroom grows and develops, it fits with having them growing from the side).
Details:
Remember that ideally the place you choose must have a good ventilation, light-dark 12 hours cycle, temperature between 14 and 16 degrees and a constant humidity of 95%. For that, you can vaporize various time per day (an hygrometer helps here) with un-chlorinated water and you can even add a few drops of hydrogenated water (H2O2) as mycelium likes this when fructifying, and it helps keeping the environment clean. When the pins are out, you can reduce humidity to 80-90% for the best fructification.
And that’s it!
Have fun, and write your comments and experiences below.
Stay tuned to see the results!