
Hi there!
Today I’ll write about an experiment I conduct by inoculating pistachio nut shells in order to create my own spawn for further mushroom growing.
For this experiment I used a fresh mushroom bought in supermarket, the King Oyster mushroom (Pleorotus Eryngii).
The pistachio shells
What inspired me to do this experiment is that I read somewhere that it’s possible to inoculate the wood from pistachio trees with Pleorotus Ostreatus. So why not its nut’s shells?
But, I only had available a full grown Pleorotus Eryngii, so I used that one instead 🙂
Hydration
I started by leaving the pistachio shells in water for various days, changing the water from time to time. It is to be said that the edible pistachios that you find available are fried or toasted and then salted, so you need to wash the salt out from the shell or otherwise our mycelium will die very fast. With this process, we also make sure that the shells are well hydrated.
Centrifuge & Mincing
Then, I took all the shells out of the water and manually centrifuge them with a salad centrifuge for about a minute, making sure all the excess water comes out of them.
After this, you want to mince them a little bit so that the mycelium finds it easier to colonize it. For this purpose you can use a food processor machine. It’s not necessary to pulverize it, just mince it for a while.
I actually found it hard with the old food processor I had at home, so in the end the pieces were not very different from the beginning of the operation. On the other hand, if you use a very modern one you risk to destroy it or damage it, as the pistachio shell are quite hard. So, do this at your own risk!
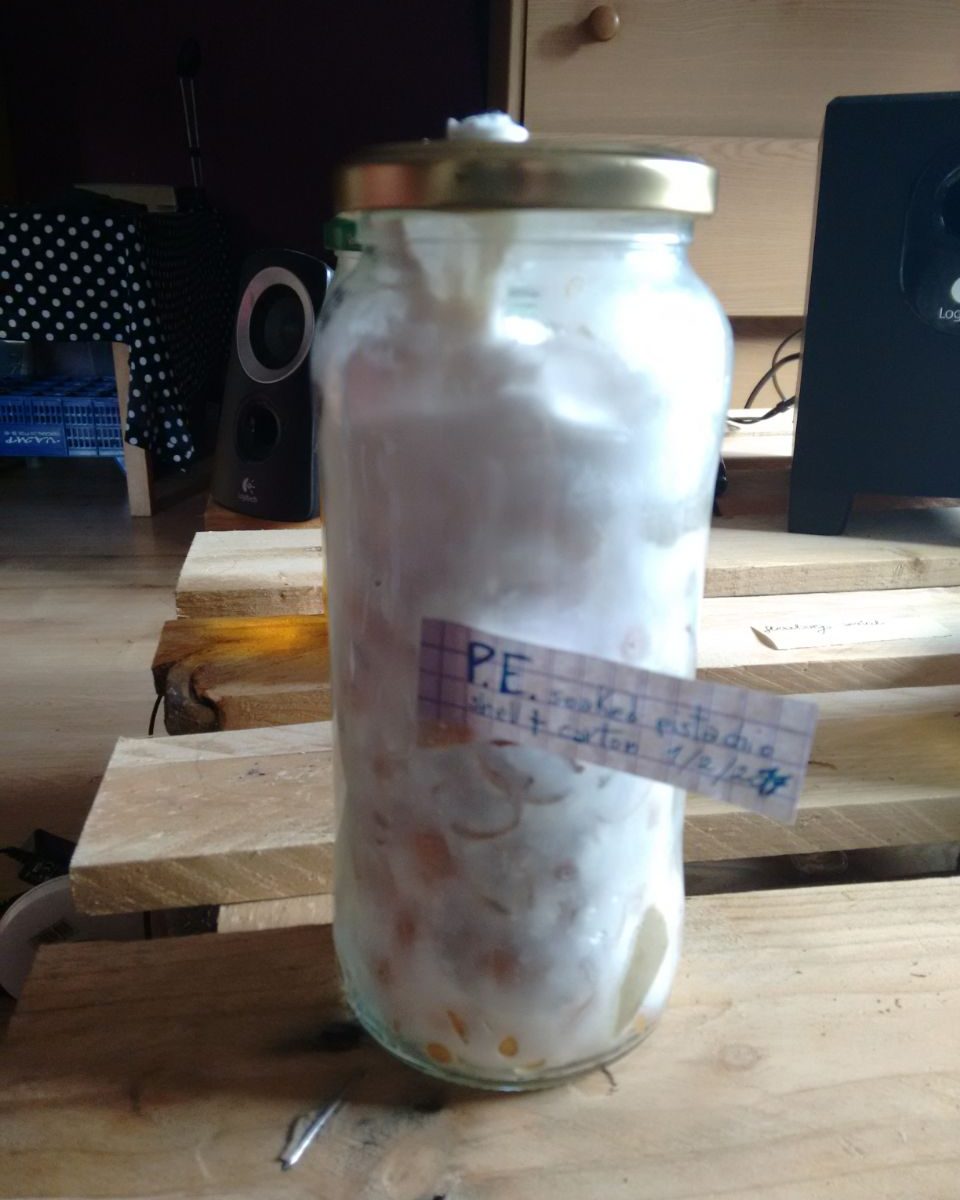
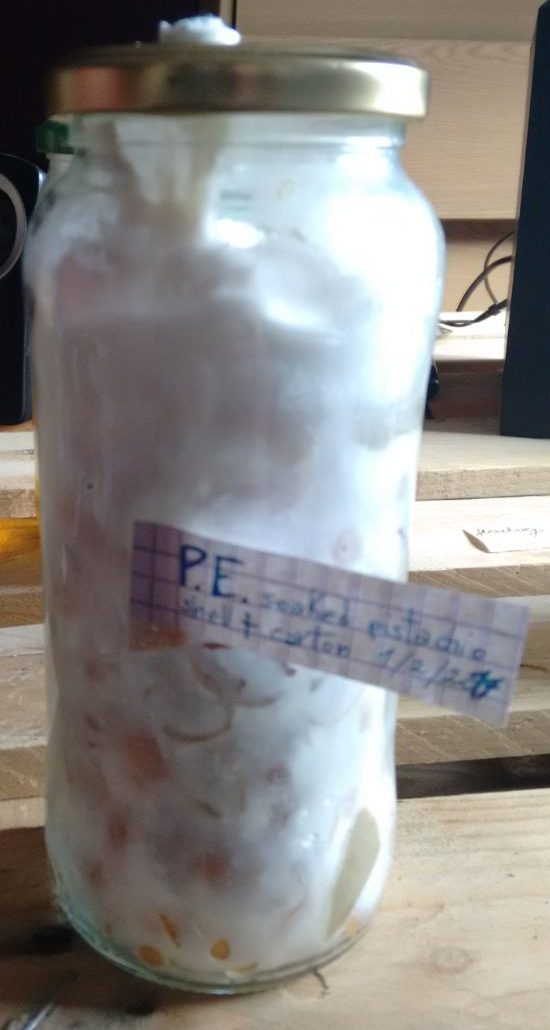
Filling the jar
When filling the jar, I also added some piece of wet cardboard.
For this purpose, you can use every cardboard, paper, or toilet paper roll, best without ink. Cut the cardboard in pieces, then put in container made of plastic (but that will not melt with hot water), then pour water at 90 degrees on it (to sterilize it).
You can take out the water in a bunch of minute, then cool down the card board for a while, then when you are sure you’ll not get burned (!), squeeze it strongly with your hand, until no water comes out of it any more.
Brake in small pieces the little ball of wet cardboard you have in your hand now, and add it here and there to the pistachio shells.
Fill the jar leaving a few centimetre of empty space at the top. This ensures a right amount of oxygen at the beginning of the inoculation process for a faster mycelium growing. I didn’t wrote it yet, but I assume you already know that the jar you use must have an air port on the lid (as you can see in the image) (soon the guide on how to make that 🙂 )
The carton will not only be useful as a source of fast cellulose to be absorbed by the mycelium, to be sure it doesn’t die by missing energy, but also will help with absorbing the excess water contained in the jar.
The mycelium will in fact run and colonize the cardboard faster than the nuts cause they are made of very strong wood. But in the end you’ll see that all the jar will be colonized.
Now you can close the lid, and put the jar to steam sterilization (here again, that page is still under construction 🙂 ). Basically, you put the jars inside a pot, fill at the height of 2/3 of the jars with water (supposedly, all your jars have the same height), then put on a medium fire to boil them for an hour or so.
Once cold, you can store the jar in the fridge until you are ready for the inoculation.
Inoculation
For this process, I used a fresh exemplar of Pleorotus Eryngii I found in supermarket. It is to be said that that’s not the best way of obtaining a fresh mushroom, you should go and collect it your self in the forest, or buy one of these syringes with liquid culture on it. Or do your own liquid culture, as one day I’ll write ;).
Anyway, for this process I carefully clean my hands first with soap and then sterilize them with a alcohol sterilizer for hands (ask your pharmacy or look in supermarket).
Then you need to sterilize the surface you’re gonna work in and the tools you’re gonna use with alcohol. I used a simple cutter.
When you’re ready, put a mask over your mouth (I use a t-shirt wrapped to my face like when there’s a fire), cut the external skin out of the mushroom stem, take a small piece from the inside of it, and place it gently on the surface on your substrate inside the jar. If the jar was in the fridge, take it out a few hours before so that the substrate is not that cold any more when you inoculate it.
Repeat a few times, that is, put three or four small pieces of mushroom inside the jar, doing this operation a bit fast, then close the jar and place it in a dark, warm (20 degrees) place until it’s fully colonized.
You are ready for fructification!
Very cool, I have to try with these too!
Thanks for posting this.
Mine grew completely, so the experiment was successful.
I don’t know how much power the mycelium have inside that specific environment, I guess I should try inoculating some substrate with these.